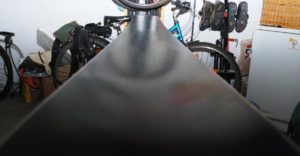
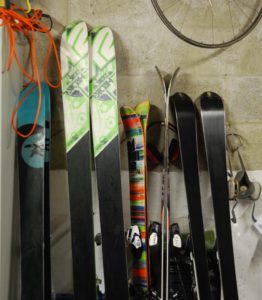
Colin also left a pair of DPS Wailers. Not a brand I am too familiar with, so off to the website for more info: https://www.dpsskis.com/
First thing to hit me is the pricing. Ouch! The Wailers cost more than my car, especially once the Carbon Fibre & Unobtanium bindings are added.
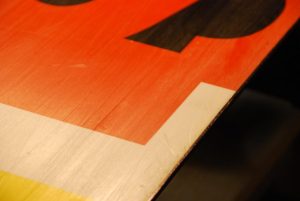
Second thing is the finish:
To say they are plain would be to wildly understate how dull they are. Grey crackle plastic anyone?
Thirdly this is the first ski website I 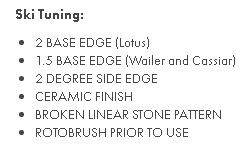 have seen that states clearly what the owner should ask for at the tuning shop. Why don’t all manufacturers do that?
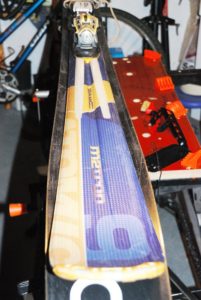
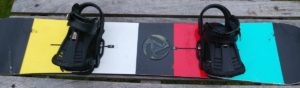
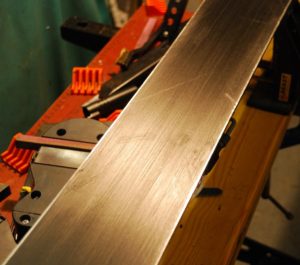
But the real shock comes when you pick them up and find that they weigh half what typical all-mountain skis weigh. Despite the fact they are twice as big. Here they are under my Atomics. 2cm wider, 20cm longer and half the weight.
That makes for some challenges. No mass, basically a carbon fibre sandwich, and carbon fibre is dismal at heat transfer. Which basically means that you are three times more likely to burn the bases when you do any work on them as the heat has nowhere to go. And there is work to be done…
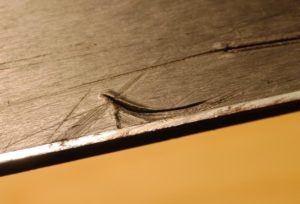
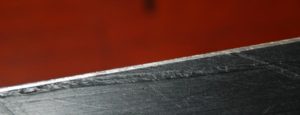
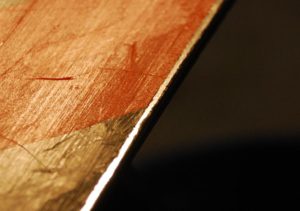
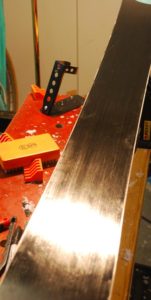
 But wait a second, unlike most skis the edges seem to be especially resistant to gouging. Plus they’re slightly wider than usual. And what’s that weird corkscrew of steel?
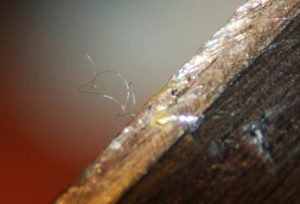
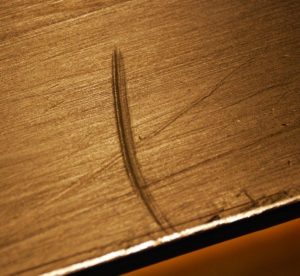
 And those strange transverse scratches, just visible on the left? Curioser & curioser.
Anyway, out with the true bar and we find both skis are very slightly concave, but we should be able to bring it down just with base edge filing.
 Not much demand for 1.5 degree base so the file guide is still in the box.
But even with the hard chrome file the edges take ages to show progress.
Finally the concavity is sorted and it’s time to P-Tex the gouges. Remembering that the heat has nowhere to go I end up taking three bites of the cherry to get all the gouges, getting a few more each time but all the while aware that a few seconds too long with the heat gun will lead to much wailing and gnashing of teeth as the matrix buckles, melts or worse. The gouges near the edges are especially reluctant to play ball. Finally, with a lot of pussyfooting, we’re there.
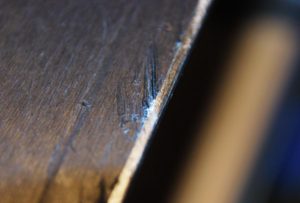
A few strokes with the structure tool, a final check on flatness and time to sort the side edges. Again they seem to be especially hard. And maybe there is a bit more width than normal. Slowly it is dawning on me that DPS have made a set of skis that they expect to be looked after – they have used special, wider edges, made of tougher steel that resist gouging but that can be sharpened for ever. The sidewalls are set back from the edges so no need for planing – the edge is well exposed. Even the base seems to be tougher to plane than normal. You pay a lot for these skis but you get feather weight and real enthusiast’s tunability, rather than fancy graphics. But you wouldn’t necessarily spot that in the shop – it only dawned on me after working on them.
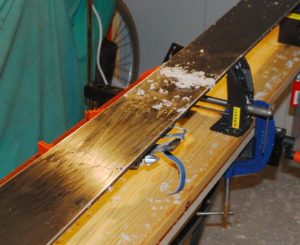
Even waxing is walking a tightrope, with the low heat resistance of the skis. To play safe I check the melting point of the various waxes in the cupboard and the Zoom universal claims the lowest so it’s a bit of thermostat fiddling then two coats of Zoom to avoid overheating the bases.
 Once they’re done they fairly glow and the initial gouges are nowhere to be seen. You would still have to know that these are top drawer skis as they don’t shout out their class.
So a real learning experience for me and I will be looking out for DPS riders in future as they clearly know their onions.


 As well as dropping off his K2s Colin handed over his wife’s beautiful new Rossignol Savory7 skis for attention. I’m a fan of understated tops that aren’t drowning in busy design and definitely a fan of black bases both aesthetically and to work on. The tips and tails of these skis have a hex mesh construction to save weight and this is covered with translucent blue film. You don’t really notice it until the sun shines through the tip like a techie stained glass window. Lovely job by the Rossi stylists.
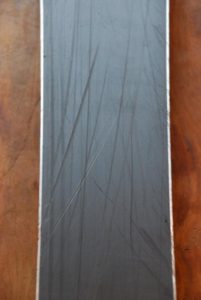 However they are meant for skiing not hanging on the wall so the Chamonix trip had taken their toll with its less than perfect snow cover.
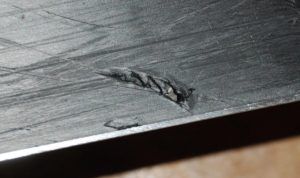
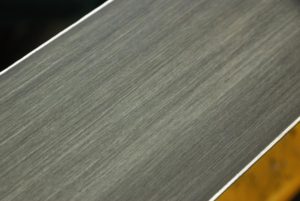
 wood to give the P-tex something to grip; Toko used to do repair powder that was supposed to be ironed in. I am firmly in the “clean it and coat the bottom in metal-grip” camp as the metal-grip will happily grip the glass and make a good substrate for the P-tex. I wasn’t able to take a compelling photo of the undercut edges so you’ll have to make do with what I did get. You can just about see on this photo that the Savory7 bases are only 1mm compared to others which are typically 1.7mm. This is to save weight and is part of the touring ski equation – light, strong cheap – pick any two.
 Another concern was the huge hole shot that had been repaired some time ago with a big swoosh of black P-tex. Although it has held on for quite some time it is about half a millimetre shy of the base so it will act as a little anchor. After much furious base planing it was still keeping its head down so I roughened up the surface with a stiff brush and added more black P-tex to bring it up flush with the base. Once that was done and the other gouges repaired with clear & colourless P-tex (rather disconcertingly you can still see the original gouge even after a perfect repair) it was time to edge the skis. Faction ask for 1 degree base and 1.5 degree side, just to be awkward, but someone else had tuned the sides to 1 degree so I followed their lead. The edges came up very nicely which was a pleasant change from the Bacons.
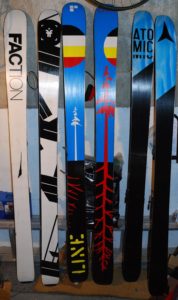
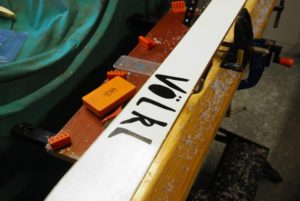
 John brought round a range of skis. As well as the
 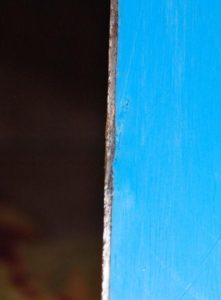 During the routine check a small bulge on the base turned out to be a bit
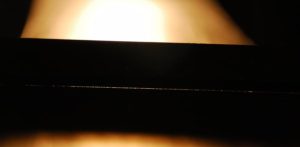
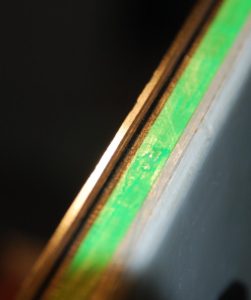
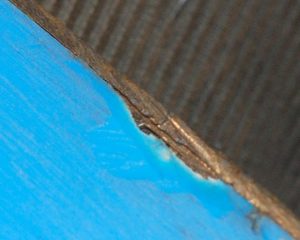 It’s hard to see on this photo but the P-tex is very slightly coming away from the edge for an inch in each direction and a thin strip of rust is peeping out.
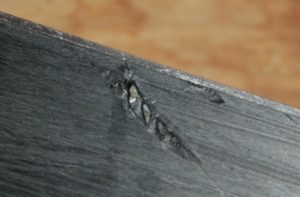
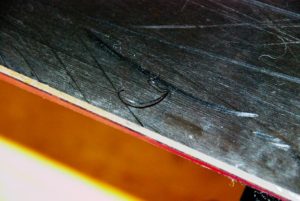
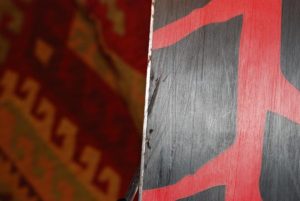 The edges are horrible but John has been careful to keep a left & right ski so the less-used edges can be saved, to an extent anyway. Obviously there are other gouges, one of which seems to have a bit of quartz wedged in it – a wee memento from a past trip.
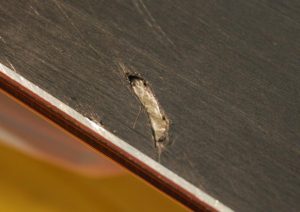
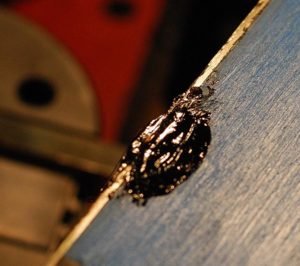 The hole I made around the break has a fair bit of Araldite lining it but there is plenty of steel exposed so out with the metal-grip and the gas-fired base mender soldering iron. Metal-grip is basically P-tex with added kryptonite so it sticks properly to steel. Once the Metal-grip is smoothed and the other remaining gouges are filled & scraped it is time to veeeeery carefully file down the highs around the repair.
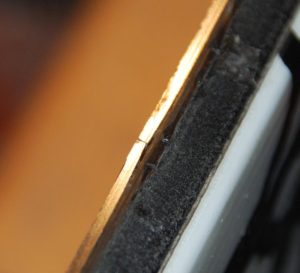 This photo makes the edge look proud of the base but in fact it isn’t – the edge sinks away slightly so I took a further photo to try to show the repair in a better light.
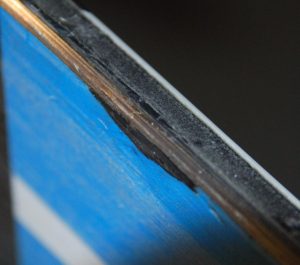


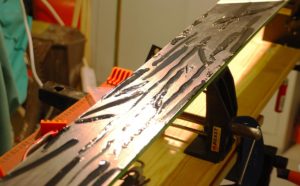
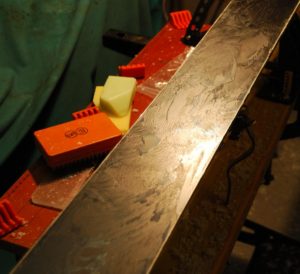
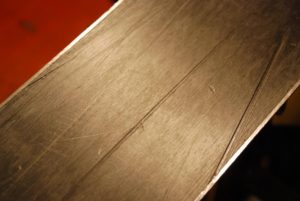
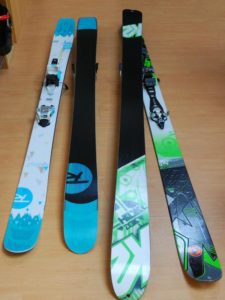
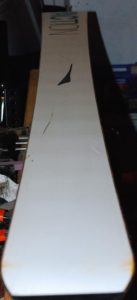
 The K2s have seen some life with heavy scoring on the bases and grooved edges: