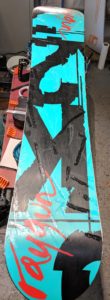
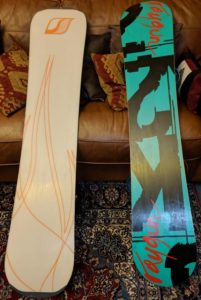
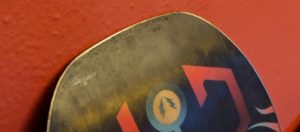
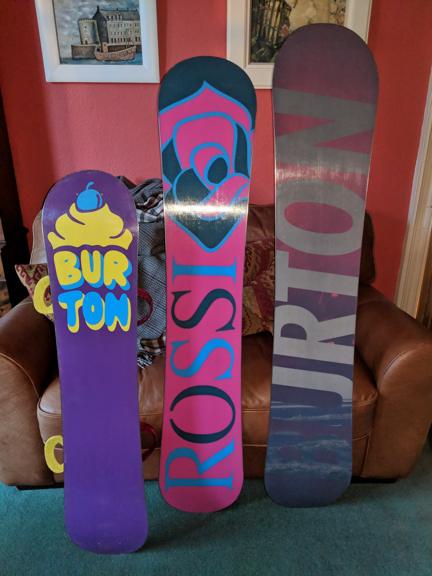
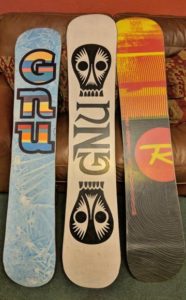
Jonny dropped off his K2 board along with his lady friend’s Salomon. Both of them had seen some base ripping action:
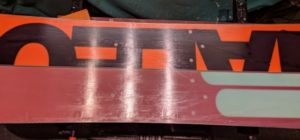
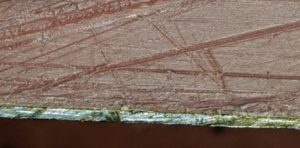
Jonny’s base is pretty mashed but most gouges are longitudinal. The photo doesn’t really show the washed out, scratchy white effect that he has managed to achieve. Take it from me it looks very tired.
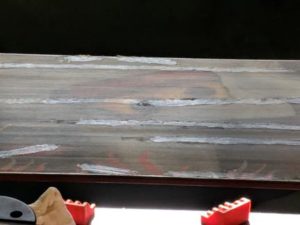
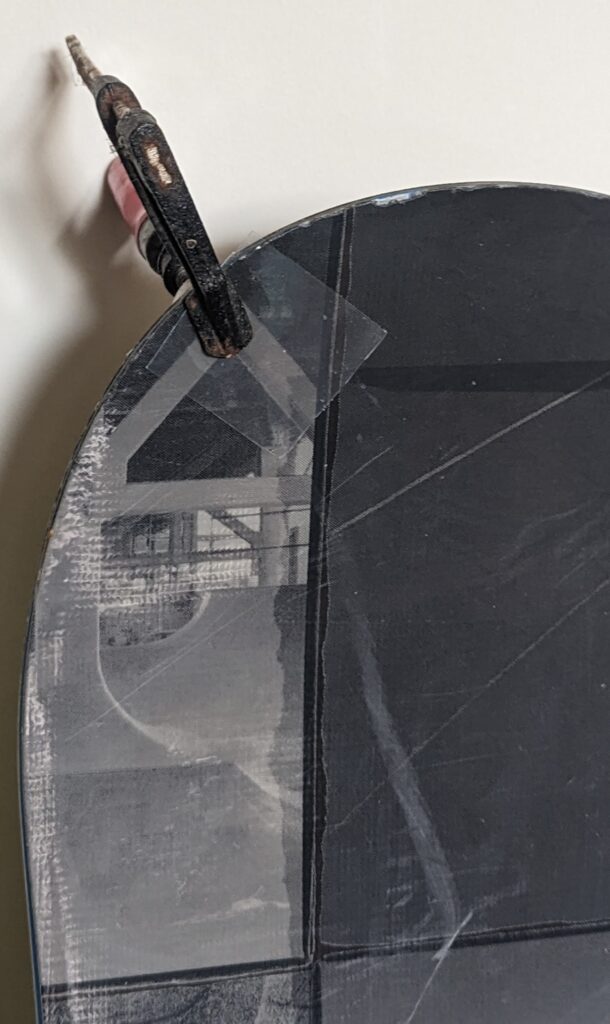
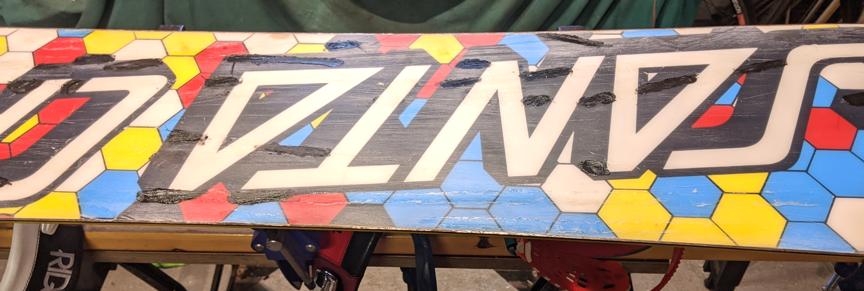
 Ms Jonny’s board just has slashes all over it in every direction. As you’ll know by now there are few things more likely to cheer up a tech’s day than having to fill gouges in a black/white/colour repeating base. Here it is with a kilo of repair P-tex in it:
And the next photo shows the base once it has been scraped flat. For once I nailed all the gouges first time and and the base didn’t need a second bite of the base iron to get it sorted:

Still looks dull because the base hasn’t been restructured and there’s no wax yet. However it’s nice & smooth to the touch. And I’m knee deep in P-tex shavings.
Jonny’s board mainly had longways scratches, which normally I leave as they just become part of the structure. However some of them were just too deep to leave so they got some clear & colourless P-Tex:
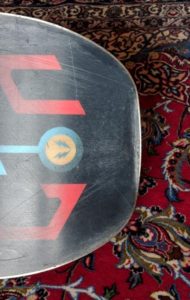
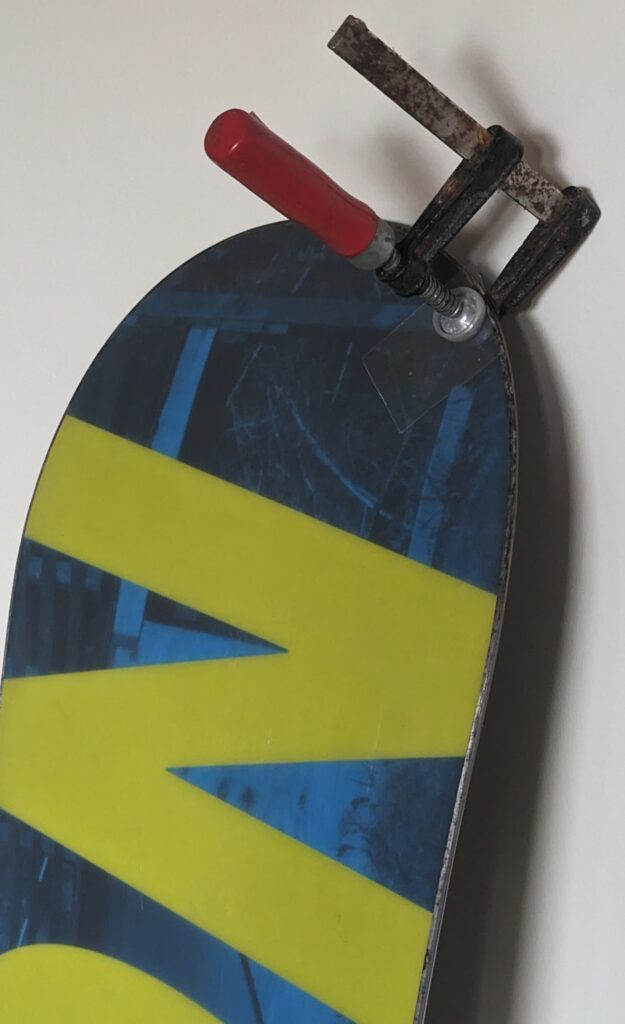
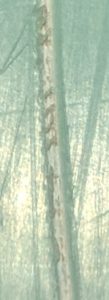
But Jonny’s main issue is at the end of the board, not the middle. Who knows what the impact looked like but the outcome was a comedy duck bill. Hard to photograph but check out the reflected light on the first snap to get a feel for the degree of bentness:

Now this poses a problem as it is only slightly delaminated and not falling to pieces. If it was more knackered it would be a case of cutting out the P-Tex, bending the edge back, reassembling and gluing. However, it’s not too bad so let’s see if we can just apply Araldite, brute force & wishful thinking:
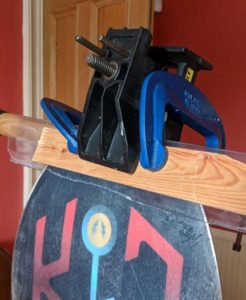
In order to encourage the edge to roll back into a better angle the top sheet former is actually a spade handle.
It all seemed to be holding at first – here’s the excess epoxy waiting to be cut off:
However the snow gods weren’t smiling on this occasion and the edge managed to pull the scoop back open again, so the edge had to be taught a lesson. Edges are really easy to bend when they’re sitting on the bench – you can easily curl them up if you need to send a few metres to Aberdeen from the factory in Central Europe – but once an edge is glued into a sandwich of four or five layers of wonder material to make a board it all gets a bit harder. Finally the deed was done and the scoop re-glued, but the teeth marks from the various gripping tools can be made out by a discerning eye:
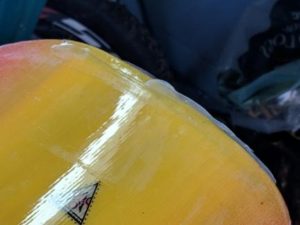
However it is pretty straight, tightly glued up and should withstand all but the roughest handling. As well as having slick, flat, waxed bases & lovely sharp edges, the bases have recovered the original colours that they had in the shop instead of the washed out look:

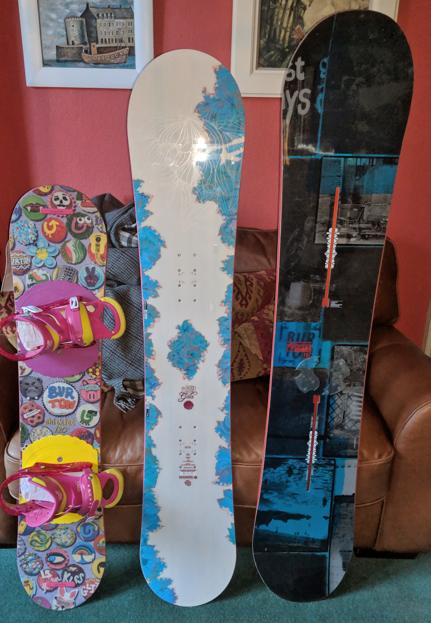
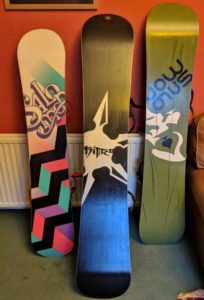
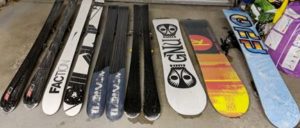 The annual multi-channel, multimedia, star-studded marketing blitz resulted in 4 sets of skis & 3 boards arriving to kick the season off. Here they are during the dullest part of any service – dewaxing/base cleaning.
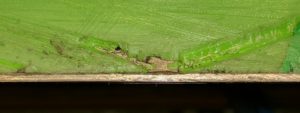
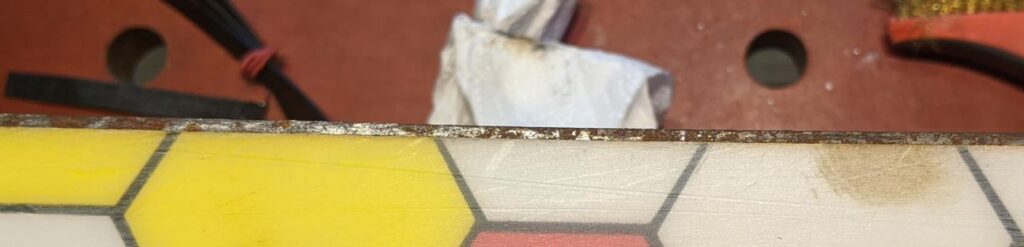
 edges too but nothing terminal.
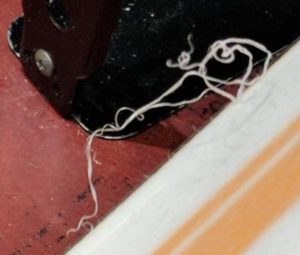
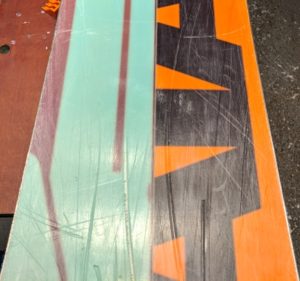 The gouge just left of centre has gone through the P-tex base, the underlying fibreglass and into the core of the board.
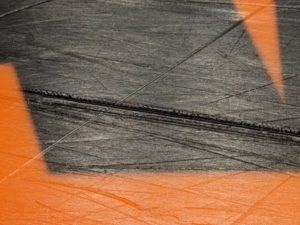
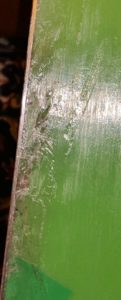
 So once the anaesthetist & theatre nurses had been assembled we were ready to go to work. First off the broken ends of the fibreglass have to be cut and the edges of the big gouge smoothed off – both jobs for a sharp penknife. Although in theory the glass reinforces the resin, and therefore this piece of the board sandwich, the loss of integrity of a few broken fibres is neither here nor there so we can sweep along. One the cut is cleaned up it’s good practice to melt some metalgrip into the wound first as it is basically P-tex with a bit of glue and it should adhere better to the underlying layer. Once the metalgrip has had 15 mins to cure it’s time to melt the P-tex in over it – and the two thousand other gouges. Once that’s done the board is probably as ugly as it gets, covered in black & clear plastics:
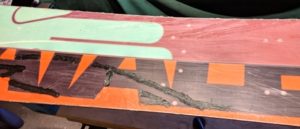 However the excess P-tex is easily scraped off and soon looks flat but dull. It’s time to structure the base using the Ski-Visions ruby stone for a clean cut, non-hairy base. Obviously the kooky Bataleon 3-D base with its wings & bulges means I can’t structure the base using the
 ergonomic tool but have to use a bit of broken ruby stone instead. Anyway the base is relatively soft and it’s not a long job. The structure blends the repairs in with the virgin base and gives the base wax something to bite on as well.