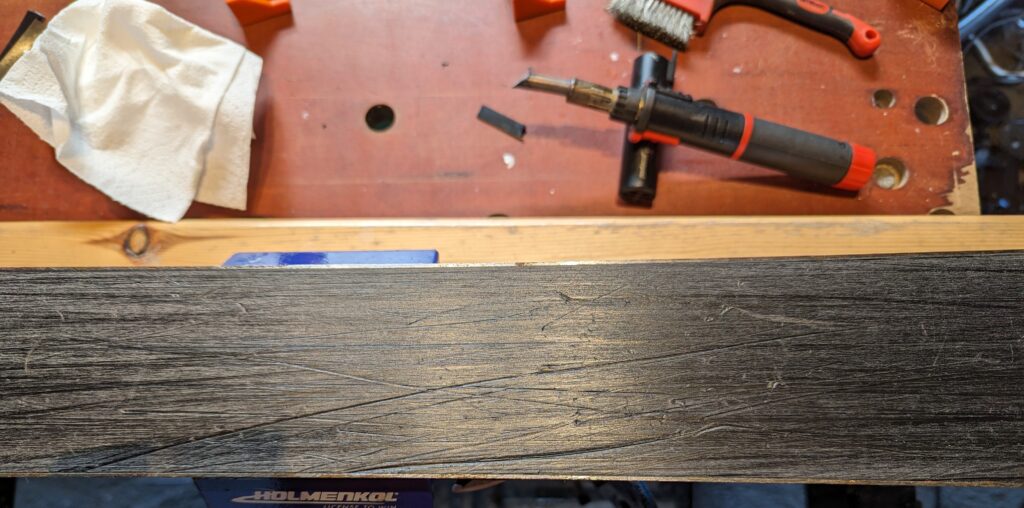
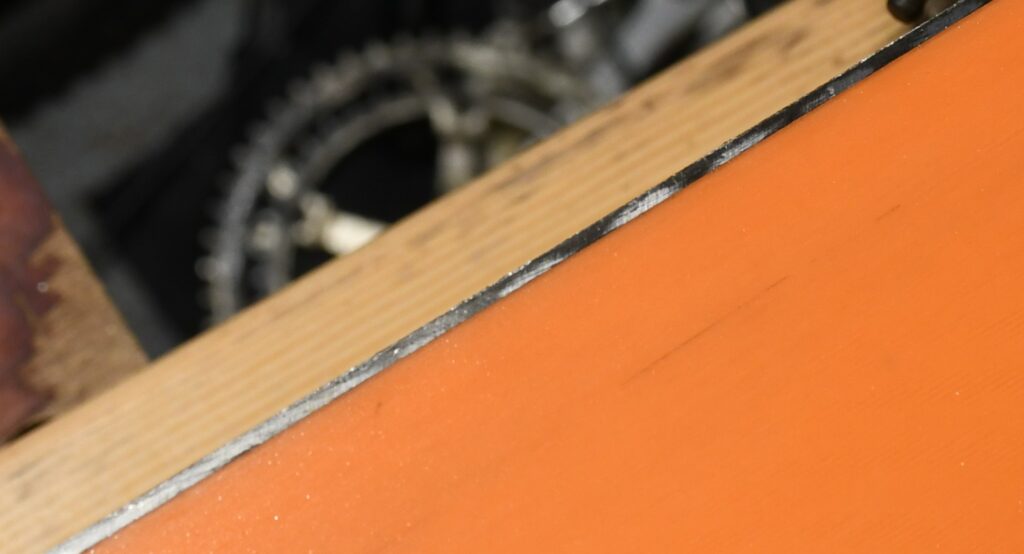
Dave and Mark dropped off 3 sets of skis between them – Dave’s Scott Superguides got a good going over ages ago when I fixed his stray edge, and Mark was a recent convert just dropping off more planks for some TLC. It’s always nice to see repaired kit back after it’s had some serious use and Dave had taken no prisoners in his efforts to wear down Scotland’s mountains just using his ski bases. Mark’s skis had gone a long time without any love & attention as well. These pictures more or less reflect the state of all 6 planks:
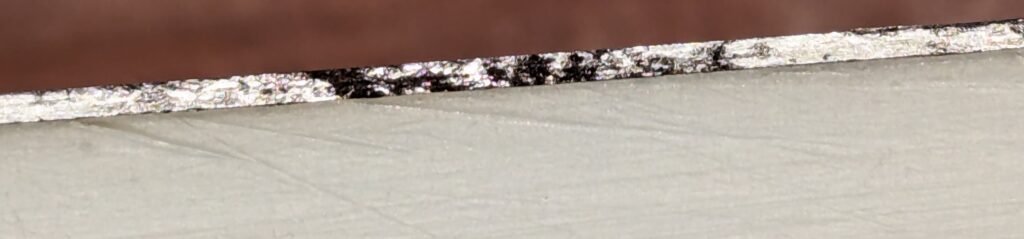
It took quite a bit of P-Tex to fill in the worst of the gouges. As always the critical scratches are the cross-wise ones – the longitudinal grooves end up as part of the renewed structure unless they’re really deep.
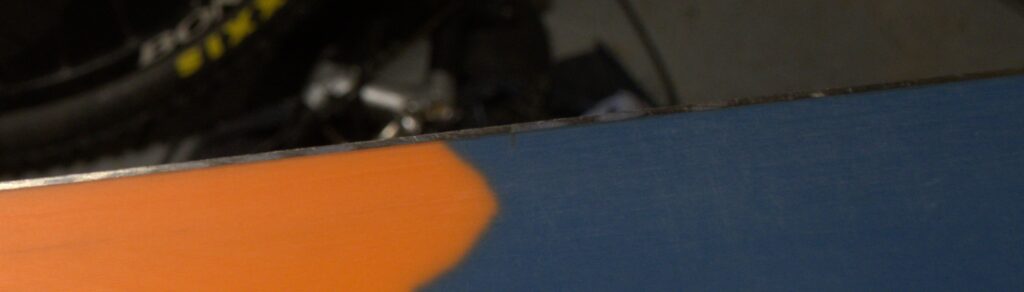
You can see a few transverse scratches still left but generally these are too shallow to fill and pretty much disappear as the base is scraped and then restructured.
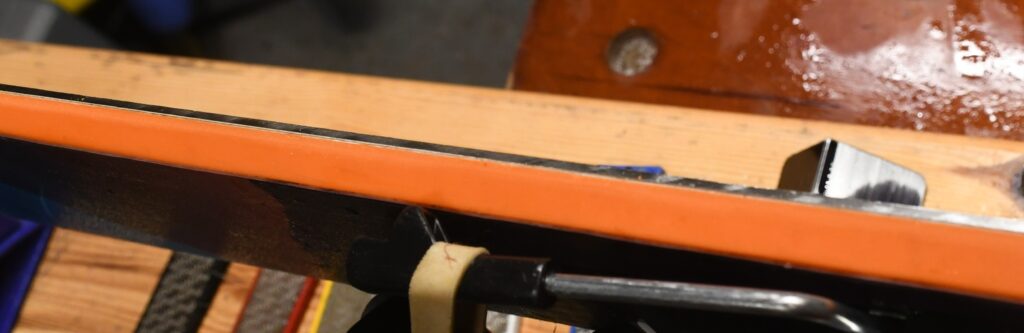
One thing about restructuring bases is the phenomenal amount of wax they suck up. Once the edges were sorted – no trauma here, they were more or less at factory settings, just a bit blunt – the pink “base renew” wax was gulped down like someone returning from a week in the desert who has just been handed a pint of chilled fermented beverage. Once that was soaked in for an hour or so it got scraped off, the green universal top wax was added and finally everything scrubbed up beautifully:
Neighbour Martyn made the arduous 20 metre trek from his garage to mine to get two sets of his skis sorted and his wife’s K2 board as well.
He dropped of a pair of Atomics which gave no issues beyond the very rusty state of the side edges, which took a lot of filing to get clean, plus a wacky pair of Fischer skis that have a weird fishtail and a bizarre bulge at the tips which I think he called a snow keel or similar.
Once the bases were tidied up on both skis, they rather unusually both needed 3 degree side edges to get to spec which was easy enough. But the waxing – help ma boab. I’d already done the Fischers once before but the bizarre bulges seemed to be even more infuriating to wax than I remembered.
Anyway they finally succumbed and were ready for the mandatory radiator picture:
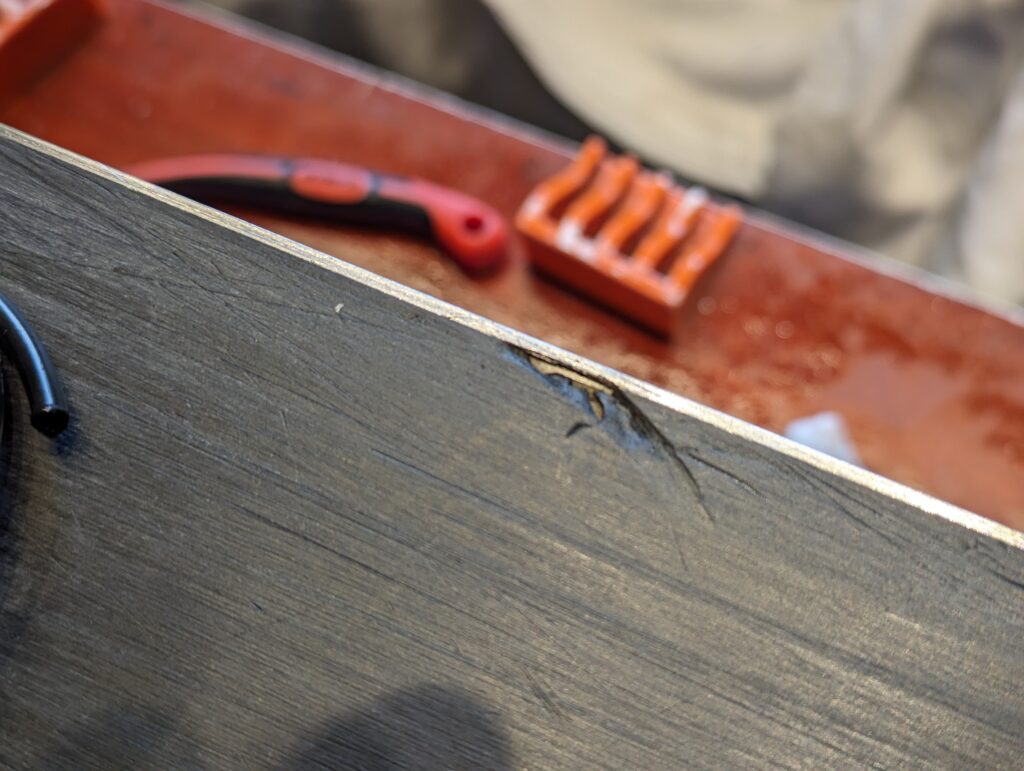
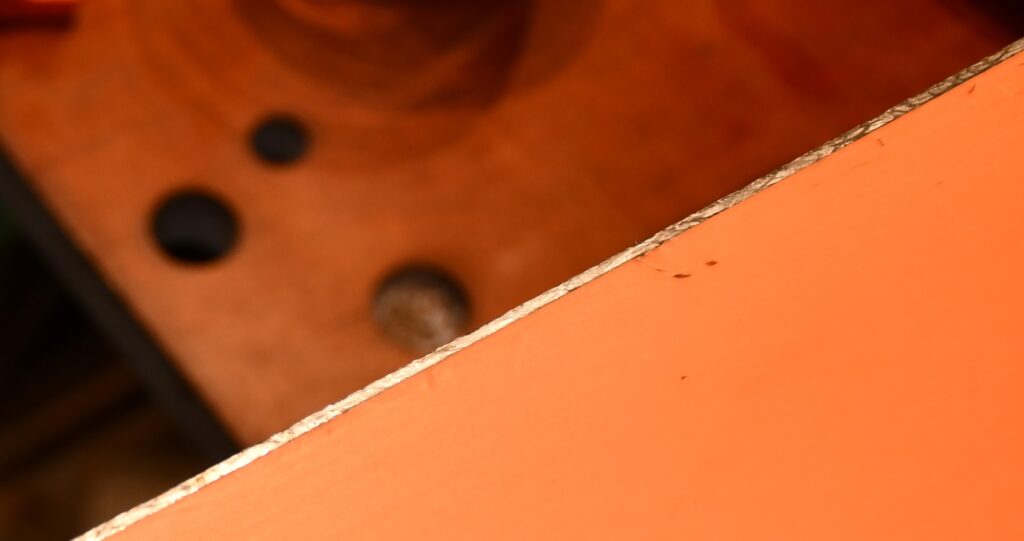
Julian was an early client of the Cave and dropped off his Völkls for an edge & wax. There was nothing unusual to report other than a wee ding next to the edge which needed some metal grip to fill:
Once that was sorted there were a couple of trivial gouges to fill and plane, base/side angles 1/2 degrees, coat of base renew wax and a coat of Holmenkohl Alpha warm weather wax and Bob’s your uncle.
Once they were waxed I couldn’t find the repair so the only after photo is below:
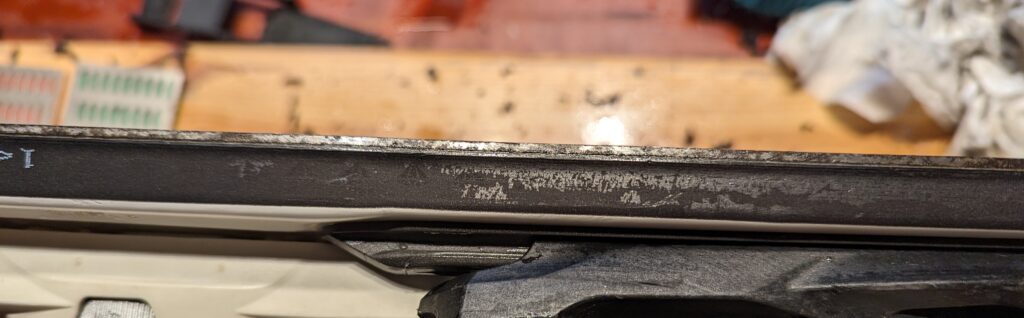
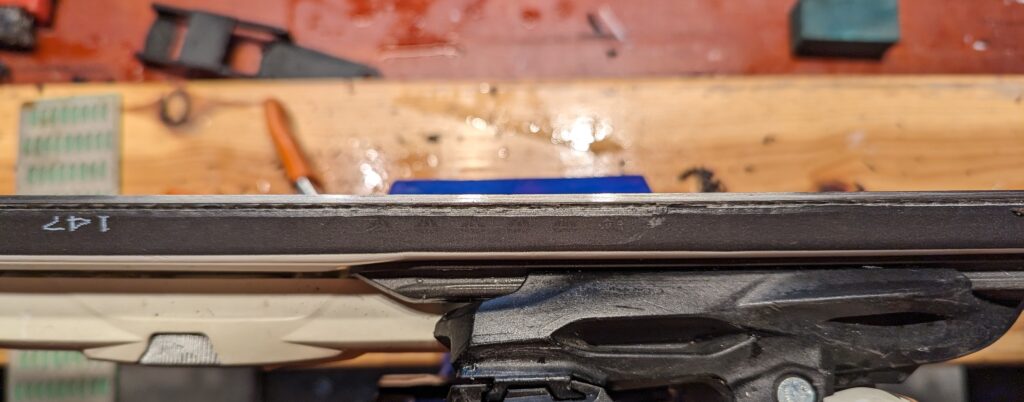
Doug’s a returning client so gets the 10% loyalty discount. All good so far, but he wasn’t retuning skis that I had already fettled – he dropped off two sets of skis that had been mangled by the guy with the hockey mask from the Texas Edgesaw Massacre (maybe I’m mixing my movies here).
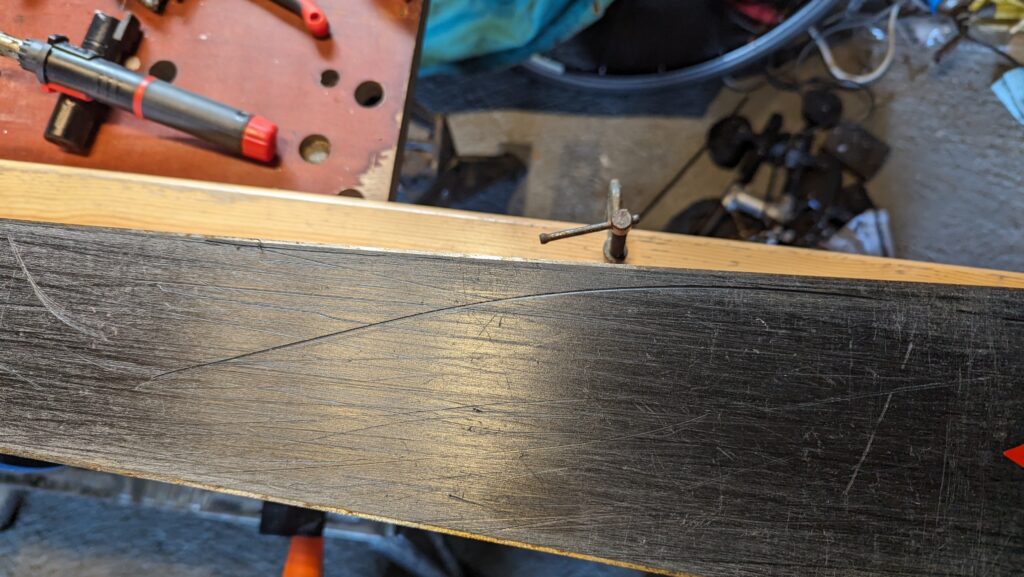
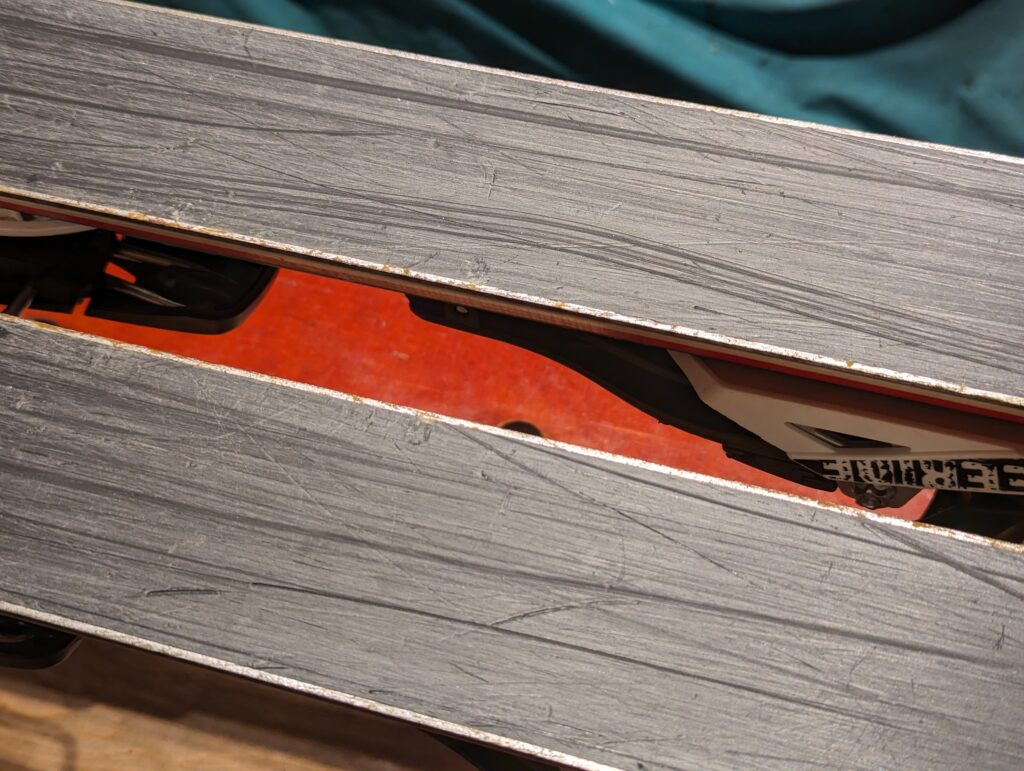
Edges are, to use the technical photography term, a bugger to photograph, but these were so weird I ran up to grab my DSLR. Still the photos are a bit ropey but if you screw your eyes up you might see on the photos what was very plain to the naked eye:
See those little half moons? All the way along the base edges on all four skis. WTF?
At first I thought the side edges had escaped but they also had the “blind man with hangover using hand-held grinder” effect. The base edges also had some serious scarring from exuberant rock-hopping:
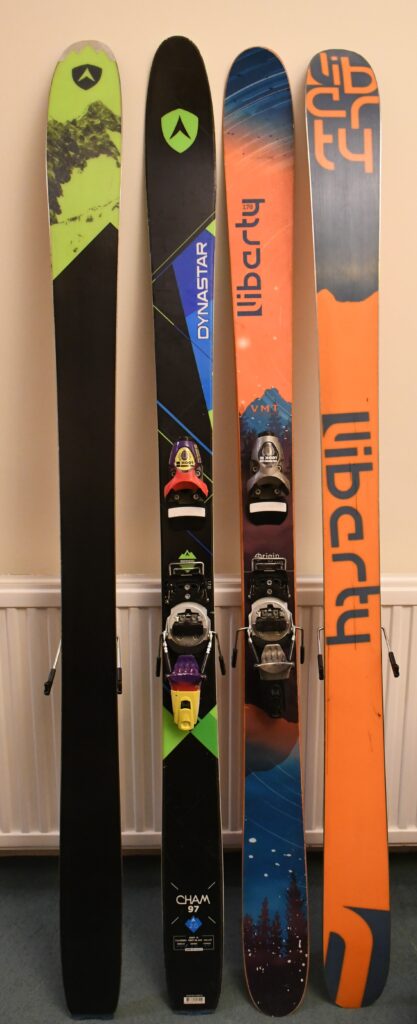
Anyway the Cave loves a challenge so both sets of skis (Origin Liberties and Dynastar Chams) got the full elbow grease and swearing treatment to beat them into shape. Both skis are 1 degree base/1 degree edge and they took the surgery very well.
It’s springtime now so I used the Spring (warm/wet) wax instead of the universal, which pretty much guarantees a 10 degree Celsius drop in snow temperatures in the next week or two.
Elliot dropped off a set of Salomon Supercross and Scott Aztecs for a service to celebrate the 4 days of snow we had in Scotland in January.
Both skis are a little older, enjoying their golden years as it were, but that really appeals to me. Skiing is a pretty environmentally unfriendly activity at the best of times, and me refusing to use forever chemicals like hydrophobic wax finishers doesn’t really make much difference, but Elliot keeping skis going for ten or fifteen years is admirable. Especially with those lovely, easy to work on all-black bases and edges that are broadly where they were on leaving the factory.
In fact both sets of skis also had pretty much flat bases, not always a given these days, so they only needed minor filling to some base dings, edging to original specs and they were ready to go:
Mark took the advice of repeat client and friend of the ManCave Martin and dropped off his skis for a retread at the Cave. They’ve seen some use over the years:
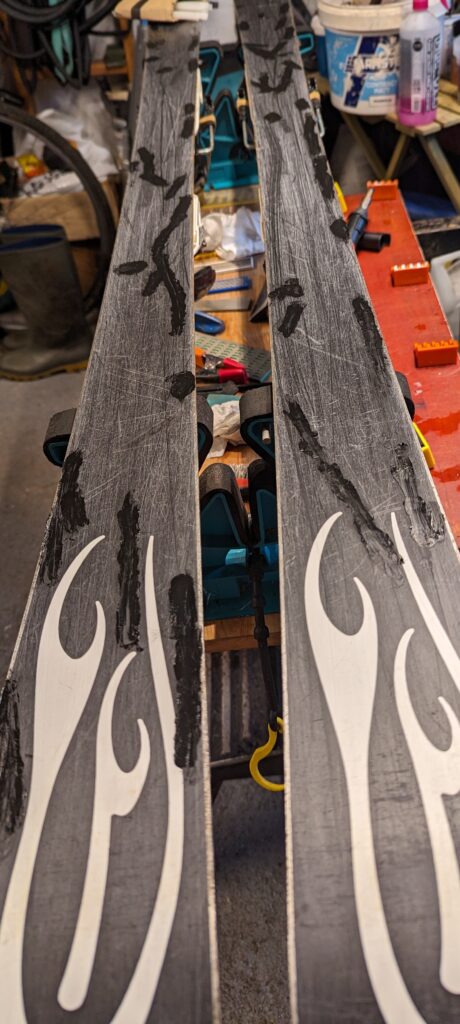
I can’t remember if this snap is the Volkls or the Rossis but they were much of a muchness. Actually not too many angled gouges, which are the problematic ones – regular readers will know that the nice straight longitudinal lines just become part of the base’s structure – but certainly a couple of quite wavy lines.
Once the bases are thoroughly cleaned – I think I cleaned off more heather than wax – they are checked for flatness then the time-consuming job of welding fresh P-tex into the bases begins. All four skis were pleasingly flat, and you’ll note they have commendably black bases to make my life much easier.
Quite a few ManCave clients think they want a “base grind” to get the lines & gouges out of their bases. As I don’t sell new skis I explain that it’s way better to add P-tex then remove the excess rather than grind off your precious base P-tex and base edges. Yes it takes longer but it preserves the life of the skis. That P-tex will be either 1.6mm, 1.2mm or for super-fancy touring skis it might be 0.8mm thick. Not much left once you’ve had someone mindlessly grind half of it off.
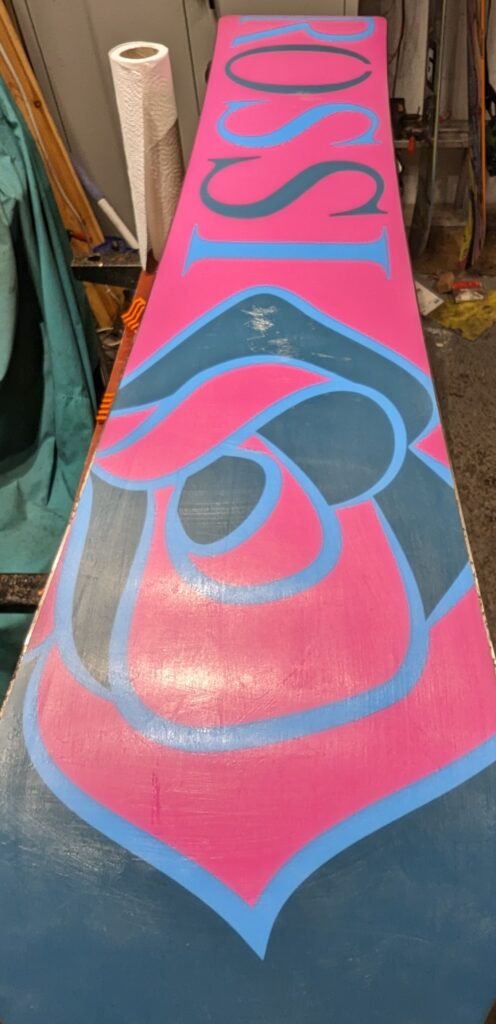
Anyway here’s the inevitable pic of the Rossis following an hour of plastic surgery:
Once the P-tex is scraped flat with a cabinetmaker’s scraper (Google it if you’re not sure; getting the burr just so is one of those things that separates ski techs from mere mortals) all the lines not filled in are about to be incorporated into the new structure that is added to the base with a ruby stone. I didn’t think to take any photos but the ruby stone gives a very even set of longitudinal lines down the base. It’s not the fancy structure that you get from a Wintersteiger machine https://www.skitalk.com/ams/wintersteiger-jupiter-for-an-out-of-this-world-tune.219/ but it’s more than good enough and saves me spending $500k on a big green machine.
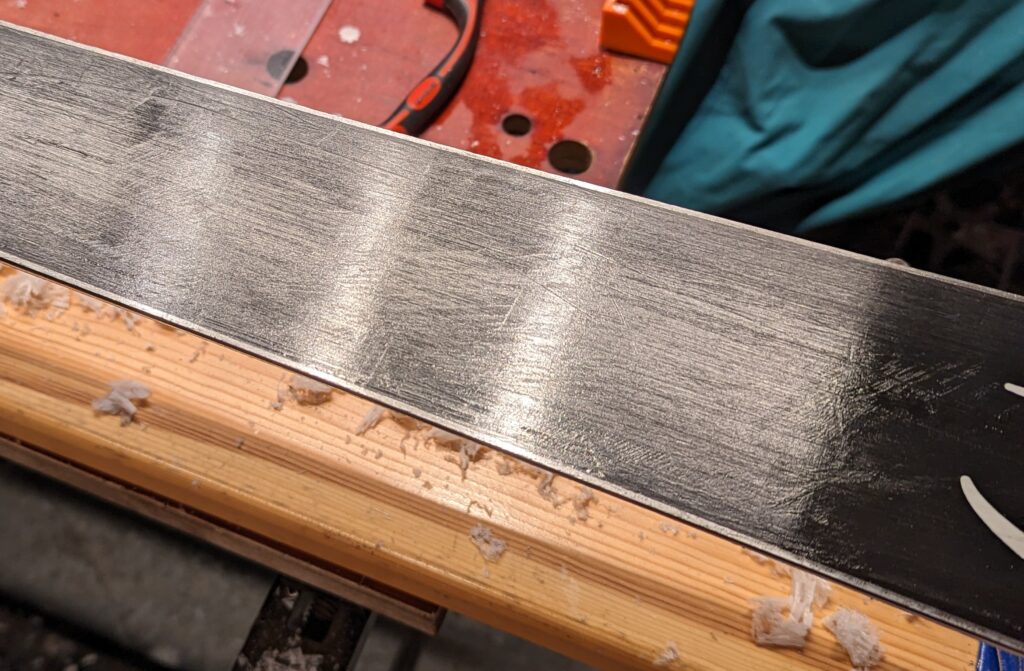
It’s out of chronological order but here’s a pic of the bases once they’ve been filled, scraped, structured, waxed & polished:
Let’s straighten out the warp in the space/time continuum by going back to the edges. Eagle-eyed readers will spot that this edge has never been touched since leaving the factory – rusty, lines, and the sidewall exactly as the edging machine left it in the factory:
And here it is after sidewall planing and filing to the usual Rossi 1 degree side bevel:
Once all four skis were edged (the Volkls are 1 degree base/2 degrees edge for any trigonometry geeks out there) they soaked up previously unheard of quantities of the Zoom pink rehab wax, but took a lovely shine with the Zoom universal wax on top.
Marielle dropped off her son’s Atomic Redsters for an edge & wax. I tried to take a couple of snaps but they really didn’t turn out well so you’ll just have to use your imagination.
A quick check revealed that the bases were only very slightly concave, which was good – some Atomics are really concave and benefit from being ground closer to flat – not a five minute job with my manual tools.
The second thing I noticed was that all the scratching was longitudinal – no transverse gouges at all. For me this is the mark of someone who actually skis, rather than sliding. I’ve never seen the owner actually skiing so I can’t comment definitively but the planks look like they’re used by someone with good technique.
As is often the case with kids’ equipment the scratches were very minor and the edges in pretty good shape – children just don’t have the body mass to really mess up their equipment. However there were three little scallops on one edge that I couldn’t quite figure out – they were behind the heel binding so they weren’t park damage, which is always directly underfoot. They were deep enough that I couldn’t file them out completely. So, only one damaged edge means that we make sure that ski is always on the right foot from now on so it’s not a tragedy.
As always the Atomics run a 1 degree base/3 degree edge bevel and these were no exception.
The bases are proper all black bases, easy to work on and they give a gratifyingly high shine when polished.
Finally as an Aberdeen Snowsports member Marielle got a discount and a couple of foam/velcro ski straps for her own skis.
Emily is a stalwart member of Scotland’s largest cycling club, Deeside Thistle, and is therefore a Friend of the ManCave. In the current language of online marketing this “unlocks” outstanding discounts to the already very reasonable rates.
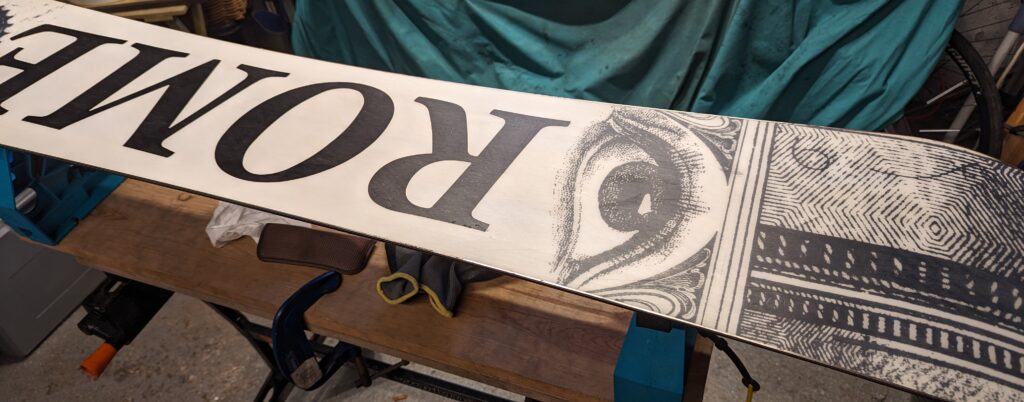
Emily dropped off two boards, a used Rome and a brand new Salomon Highpath Splitboard.
Regular readers of the blog will know that I’m a fan of proper 100% black bases. They’re made of the proper P-Tex, lovely long chain polyethylene strands all squeezed together to make a nice firm base but with plenty of space between the PE strands to suck up hot liquidy wax. I’ve never seen it confirmed but I’m certain that black P-Tex has carbon black in there to protect the chains against UV light, just like black ty-wraps – that’s why you should only ever use black ty-wraps for outdoor applications – today’s free life hack from the Cave.
If you want to make the ski tech’s life a bit more tricky you can select a board with a few blocks of colour. The scratches don’t really care about your bold patches of colour and zoom through them all, making for blotchy repairs where the black base and colours meet. Not the end of the world though.
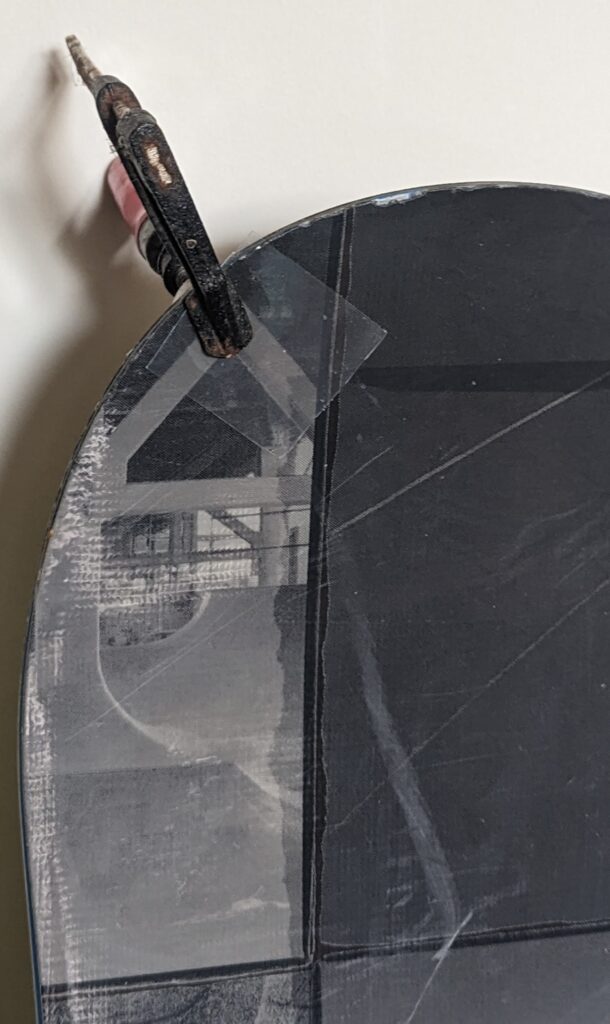
Emily’s Rome took things to a whole new level with a screen printed design on the base:
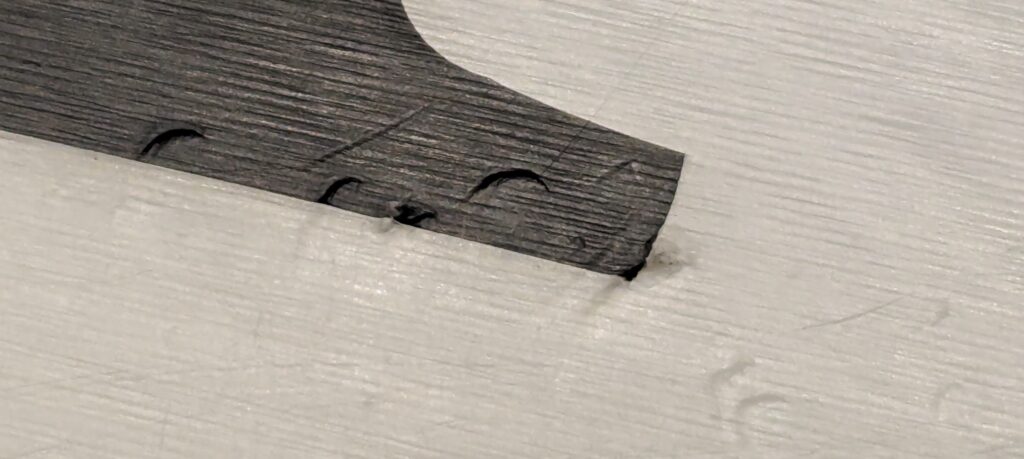
Now generally I like a challenge but this is taking things a bit far. Fortunately there was very little damage to the base, just some weird half-moon dings…
…and very light scratches that didn’t actually scratch the edges, so really superficial (note lightly rusted base edge as well):
Following the very light base repairs and hardly any swearing at the black/white transitions, it was time to sort the edges. Rome is a fancy label of Burton, rather like Lexus is to Toyota, so I figured they’d be running base 1 degree/edge 1 degree. The website looked like it was going to help but came up with a not very helpful “edges are 90 degrees”, meaning they could be 7 and 7 degrees if they wanted. The usual way to find out is to colour up the edges with a sharpie and run the file over the edge in your suspected angle. which revealed not only that they’re approximately 1/1 but also that they’d never been sharpened before, as the sidewall was flush with the side edge:
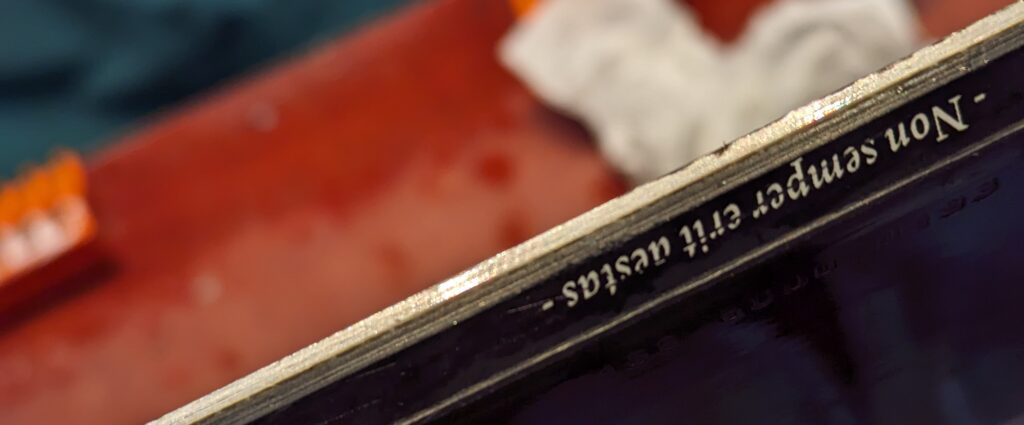
You need to cut away a mm or so of the sidewall to fettle the side edges so carefully avoiding the thought provoking latin:
Edging the Rome presented no problems and it took a couple of coats of wax very nicely. Photos at the bottom of this post.
The Salomon Highpath Split Board was an interesting one, brand new and Emily was only after a few coats of wax to get the base started. I like the split concept of tramping up to an inaccessible pinnacle somewhere then trying to get back to safety in one piece. I’m not so convinced that two little latches will give the board the structural integrity you might be hoping for when you’re having a battle against the mountain but then I’ll never be the person in that position.
It was noticeable as soon as you started to handle the board that the edges were supersharp with a burr in one direction that was like a knife blade. “No worries” I cavalierly stated, “I’ll just knock the burr back as part of the wax job”.
So even though I wasn’t supposed to be investing time in the edges I couldn’t help but notice that the base edges didn’t seem to have any bevel at all. They’re just flush wth the base. This seems unlikely as the whole point of base bevel is to stop the edges grabbing when you’re going in the straight line with a flat board. The orthodoxy, for skis at least, is that you might run 0.5-0.7 degrees if you’re a racer looking for fastest possible turn response; 1 degree for most mortals and 1.5-2 degrees for freestyle and park types who really just want to keep the edges out of the way. But no-one would specify 0 degrees base bevel (except Bataleon, who put wings on their boards to keep the edges way off the ground). So, luckily, the brief on this job wasn’t to fettle the edges beyond using 200 grit file to take the worst of the burr. However I’m assuming that the board might well reappear in the Cave in the future so I had a peep at the side edges as well. Salomon charge a lot for this board and have quite a lot of info on their website as well as various YouTube videos explaining all their tech. They state that the board has 2 degrees side bevel in the middle and one degree at the tips, and sure enough I was able to photograph the transition:
Again I wasn’t charging to look at the edges but couldn’t help inking them up and giving them a swipe, only to find I couldn’t replicate either angle with my file guides of 1, 2 & 3 degrees. So who knows. The side angle is relative to the base of the board, not the base edge so it didn’t matter that the base edge was still under suspicion. Just another snowsports mystery I guess.
So going back to the actual task in hand, waxing the base, there were a couple more anomalies compared to normal practice. Usually skis and boards will ship with transit wax to protect the base & edges. It’s cheap as chips (I have a couple of blocks of it in the cave, still waiting for the first client to ask for an oversummer protective wax) with no clever additives and tends to be quite brittle when you come to scrape it off so it’s worth gently warming the base first before scraping. The Highpath just didn’t appear to have a gram of wax on it. Nada de nada. Also, the base had a weird sort of speckled effect, like the cheapest worktop you can find. Is it made from recycled P-Tex or something? Why yes! According to Salomon it’s made from “100% recycled base and bio-resin”. Anyway the base proved to be a right faff to work with, as it’s not really flat in any orientation, making ironing in the wax fiddly. Obviously bases that are hard to iron are horrible to scrape as the scraper is expecting to find flat surfaces. Finally the two coats were scraped and the topcoat polished but throughout the base seemed to be very reluctant to absorb any wax. Very odd and I’ll be interested to see what it looks like after a week’s use.
Here are the final pics of both boards ready to be picked up:
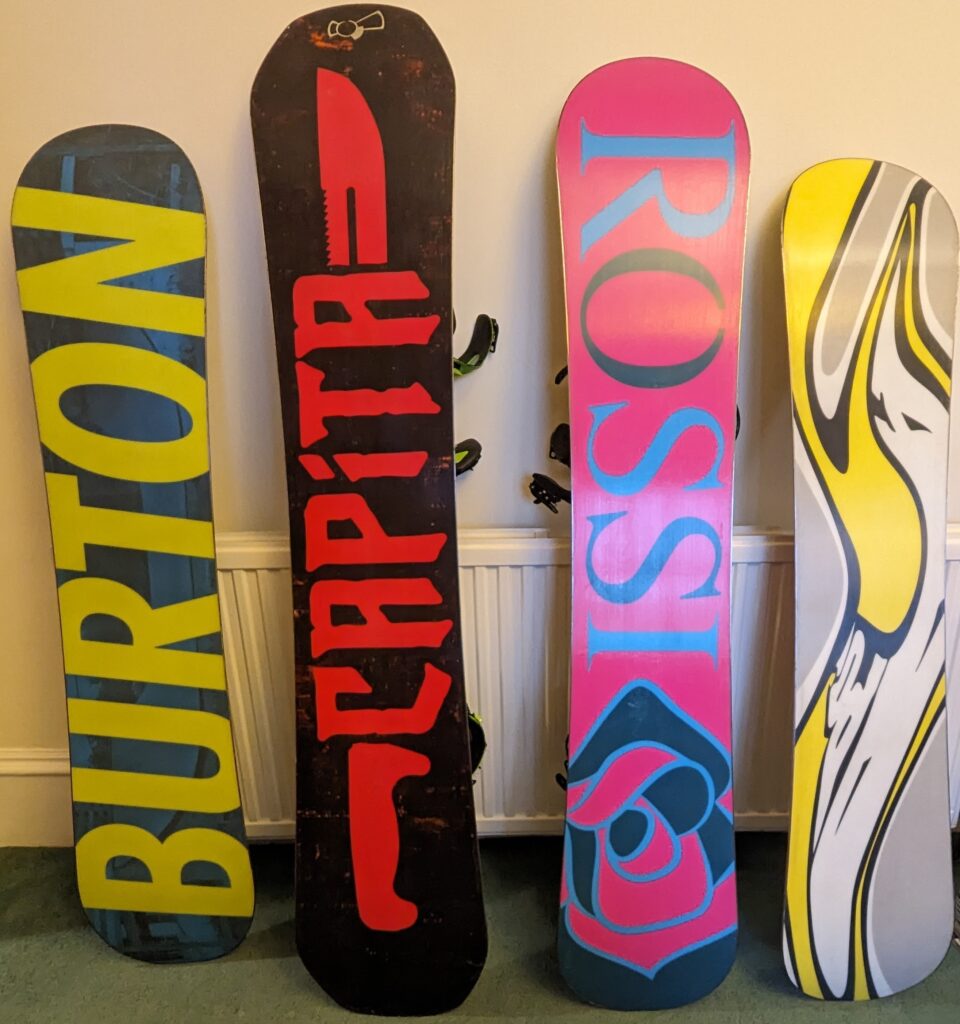
Martin has been a stalwart for the last few years, bringing in more boards every year. This year he delivered four boards with the help of a Martinette. There were a couple of minor dings to be sorted on top of the usual edge & wax – the Burton had a wee lift on its top sheet and the Rossi looked like someone had accidentally left a testy piranha fish in the bag:
The bases all needed a little bit of tweaking to get out the worst of the gouges and bite marks but nothing too onerous.
Edges were in good shape – 3 of the boards had been sorted by me in the past (see the Capita/Apos post here: https://mancaveservices.co.uk/2022/10/one-and-a-half-boards/ to read the story of the weird edge angles) so they were a breeze. Fortunately the Rossi still retained its original base 1/side 1 angles so a bit of sidewall planing and rust removal got everything back in shape.
Once everyone was prettied up I remembered that the Burton needed some epoxy to stick its top sheet down again so it spent a couple of evenings warming up above the front room radiator:
Always remember to use a bit of plastic tray between the C clamp and the board – epoxy doesn’t stick to it and you can see what the glue is getting up to through the clear plastic.
Here they are in the inevitable line up:
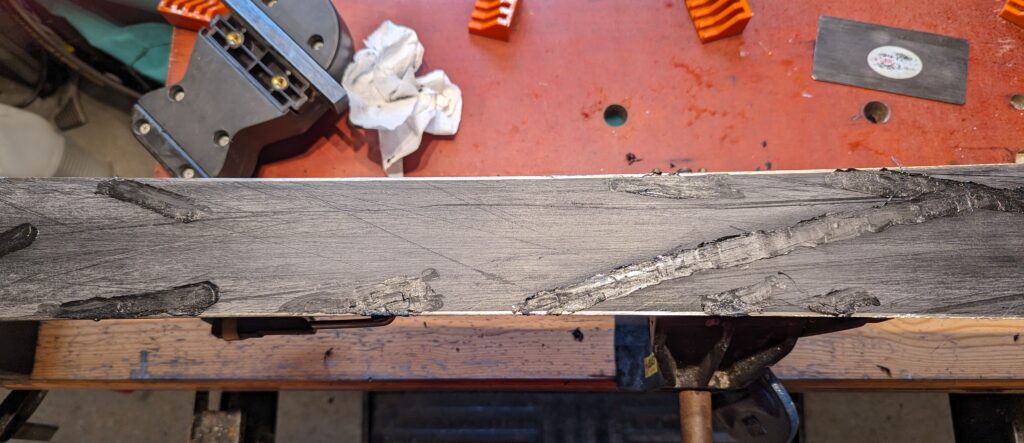
Repair is in the top left of the board, roughly where the rafters are. Someone has conscientiously cut down another couple of dings right on the tip of the board to stop them from catching in future. It’s worth carrying a sharp knife up the hill along with your 200 grit diamond file to keep on top of ad-hoc board surgery.
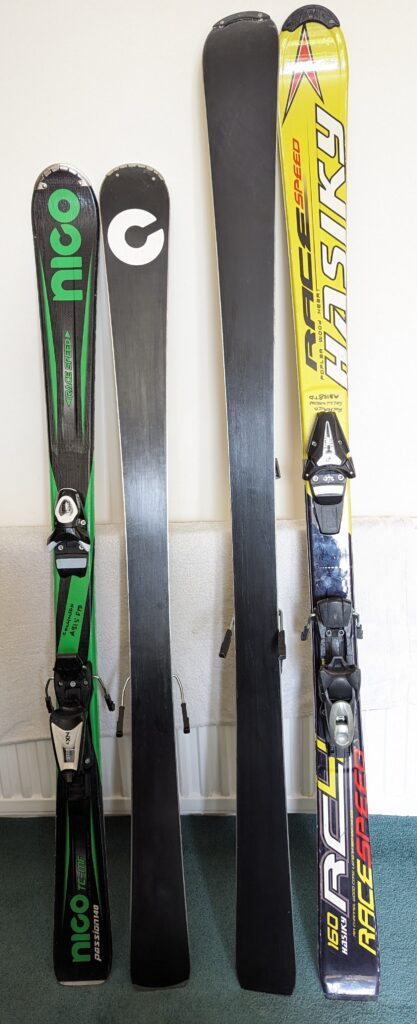
Richard has brought his own skis in for service before and this time he excelled himself by bringing two pairs in the height of summer – no chilblains for me this time. Both sets were direct from China specials and as such were probably at an attractive price point. A bit of Google stalking for Hasiky led to this Alibaba sub site for Hasiky, which features an interesting wee video of the hard-working employees layering up a board, adding epoxy and sticking it in a mould for shaping/curing. If you delve deeper they drop into the text that they either still do or have in the past made K2 skis there.
Anyway what had Richard done to his skis since their last service? They didn’t look too bad on first glance but as is often the case they needed more base work done than I expected:
However there were no terminal gouges and the edges were still in pretty good shape, so as they’d already been fettled by me previously they needed very little elbow grease to get them singing again.
The distaff side of the relationship presented a set of Nico skis, also direct from the People’s Republic. The bases were in OK shape but goodness me the edges were all over the place. Richard reckoned that they’d never been serviced so the edges must be what they left the factory with plus some wear and tear.
The closest I could find to the existing edges was side 1/base 1 so that’s what they got but it was a real struggle to get them there with the wildly varying angles.
As always I feel better disposed to skis once they’ve been waxed & polished up so I’m actually looking forward to seeing these one back again – they’re made to a decent standard, nothing delaminating, bases flat so better than some of the European-branded planks that come to the Cave.
This website uses cookies to improve your experience. We'll assume you're ok with this, but you can opt-out if you wish. Cookie settingsACCEPT
Privacy & Cookies Policy
Privacy Overview
This website uses cookies to improve your experience while you navigate through the website. Out of these cookies, the cookies that are categorized as necessary are stored on your browser as they are essential for the working of basic functionalities of the website. We also use third-party cookies that help us analyze and understand how you use this website. These cookies will be stored in your browser only with your consent. You also have the option to opt-out of these cookies. But opting out of some of these cookies may have an effect on your browsing experience.
Necessary cookies are absolutely essential for the website to function properly. This category only includes cookies that ensures basic functionalities and security features of the website. These cookies do not store any personal information.
Any cookies that may not be particularly necessary for the website to function and is used specifically to collect user personal data via analytics, ads, other embedded contents are termed as non-necessary cookies. It is mandatory to procure user consent prior to running these cookies on your website.