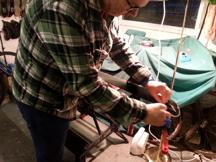
Brian was interested in dabbling in the dark arts of ski tuning, so once he had signed the ski tech secrets act (cunningly disguised as the ManCave workshop disclaimer) we got to work on his Völkls. After base cleaning and the flatness check it was straight onto the base bevels. Like a lot of clients Brian had a long story explaining why he couldn’t dry off his gear after his last run – naturally it’s never the fault of the owner but no amount of self-justification alters the fact that you will lose a bit of steel from your precious planks if you let the rust worms nibble your edges.
 Here Brian is sorting his base edges with one of the Moonflex diamond files. He has looked after his kit (rust notwithstanding) and it didn’t take much to get the edges cleaned up. As always I encourage clients to sharpen up to the tips and make sure they take a 200 grit diamond stone to the mountains so they can detune the tips if the skis are too grabby. It’s always easier to take an edge off on the slope rather then try to make an edge.
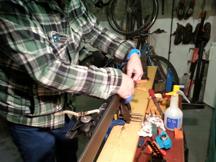
Side edges are 2 degrees, or 88 degrees if you are an inverse sort of person, and again we had to scrape off more steel than we wanted to get to bright metal. It’s a real shame to have to pick the hedgehogs of swarf out of the panzar file just because of a bit of water left on the edges a bit too long.
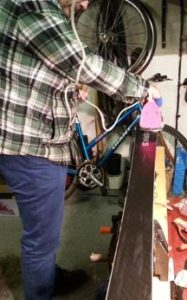 We soon got Brian busy with the waxing iron. This is the bit most people enjoy as they chase the melting edge of the wax up the base, especially the low temperature, runny base renew wax I like to use under the top wax.
Brian was pretty privileged as I cracked open a 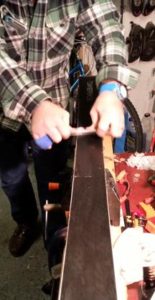 brand new wax scraper so the wax pretty much scraped itself. Doesn’t matter how carefully you sharpen your old perspex scraper it just never gets as sharp as a brand new one. At this point I want to point out that Brian arrived at the Man Cave with his fingers plastered up and that wasn’t the result of a new scraper incident.
Brian’s off to Chamonix in April so we agreed beforehand to apply the yellow Alphamix wax for soft spring snow. Sadly there was far too much blethering during the tutorial and we ended up using Zoom Universal instead, due to an autopilot error. No matter as it is supposed to be good to zero Celsius too, but really, pay attention John.
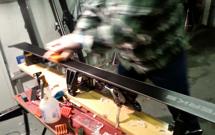 Of course people think they’re on the home straight when they’re ironing in the top wax but the most physical part of the whole service is coming – the brush up to a high shine. Usually I try to get sharp photos for the blog but this blurry job captures the effort & speed required.
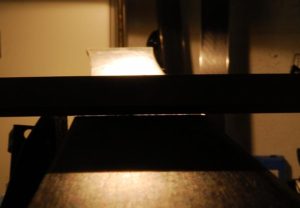
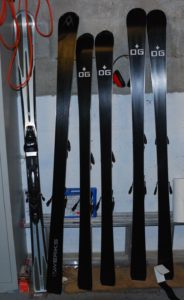
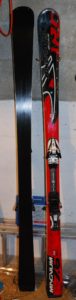
 Once Brian had headed home the other skis got a once-over. They were both Ogiers and definitely piste-bashers with narrow mid sections. They both had a bit of base gouging to sort and one set had a noticeably convex base. As always these base flatness photos are a drag to take and they don’t really show what you can see as you slowly drag the true bar down the base so once again you’ll have to trust me and use the eye of faith:
Once the gouges were filled & scraped the SkiVisions tools were pressed into service to bring down the central hump and to impart some new structure to the repaired base.
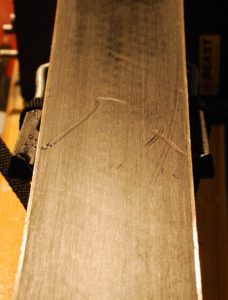
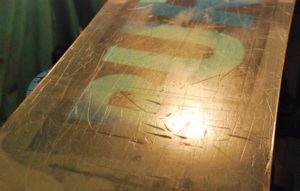
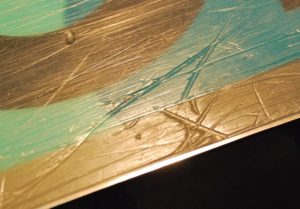
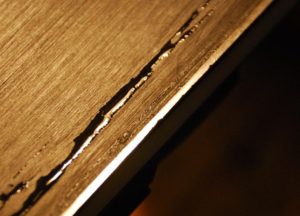 A couple of the edges had seen some life as the ragged edge here shows. Ignore the glossy black strip, that’s just a bit of lubricating water from filing the base edges. If these were back country skis I would be relaxed about the edge nicks as you don’t use edges when surfing bottomless powder, but of course these planks are intended to grip like limpets to the crunchiest corduroy or bluest ice on a knackered piste so really the dings have to be filed out to make a smooth edge. Cue yet more fur balls of filings all over the floor.
Finally all the gear is polished up – using the right wax this time – and ready for their class photo:
 takes two or even three passes of P-texing & scraping to get a really mashed base clean and there really isn’t any way to short cut the fill & scrape process.

 However eventually it is ready for structuring with the trusty SkiVisions tools, tidying up the edges (which is easy as they were last done a few weeks ago by Angus himself) then some Zoom Universal wax to keep it looking nice and shiny until the next robot wars session at the dry slope.
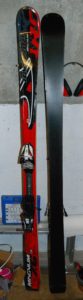 Tom dropped off his Blizzards for a service. Apparently he picked them up second hand in Norway. It certainly appears from this small sample that our Viking friends know how to look after their kit – the edges had been tuned previously but whoever did it retained the Blizzard standard base 1 degree/side 3 degrees, and the bases were as perfectly flat as any ski I’ve seen.
 Anyway bright metal wasn’t too far away and the edges were soon back to their best. Two coats of wax, some scraping and brushing and they are ready to rock.