Richard’s Santa Cruz

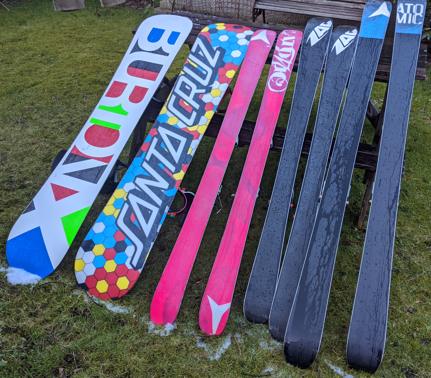
I figured when I stopped all advertising for the Cave that I would only get happy smiling returning clients dropping off equipment that I had already sorted. It was going to be sooooo straightforward. So somehow I ended up with 3 new sets of skis and 2 new boards in the shop. Best laid plans and all that.

Richard dropped off his Santa Cruz board for some attention. “Edge and wax and the base might need some attention” were I think his exact words on the phone:

“Might need some attention”
There could well be some metal under all that rust…

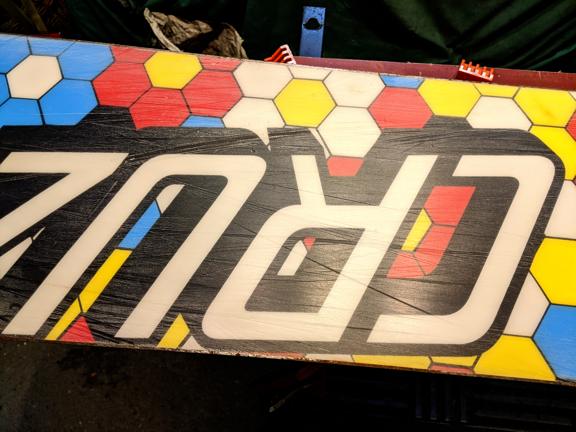
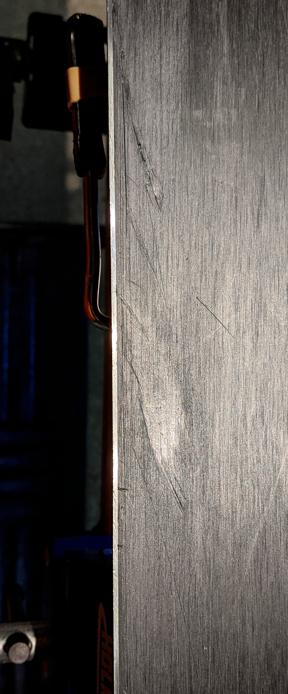
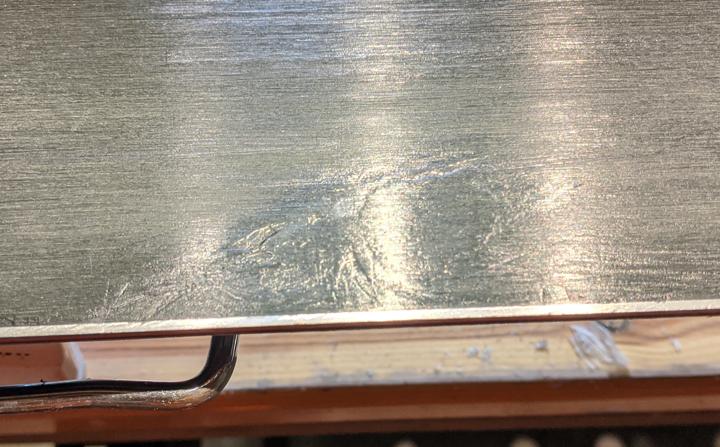
So the board looks like it’s been helping to defend the rebels in Idlib for the last 6 weeks. Starting point once any remaining wax has been cleaned off (ha!) is to check the board is nice & flat. Oops! the board seems to have been designed with a prominent central ridge and wings, a bit like a Bataleon board. There’s plenty of marketing guff on the website about their various longitudinal profiles (“Go Big! Rocker” anyone?) but they don’t seem to have done this weird W-shape transverse profile on purpose. A few runs with the big SkiVisions planer indicated that taking down the centre to make the board flat would result in no P-tex in the centre. That would be a shame as, and I’m quoting directly from their website here, their bases feature: “Nano-additives boost acceleration up to formula one limits”.

Anyway, once I had stopped laughing at their badly translated marketing drivel it was time to try to fill in all those gouges. You’ll have spotted that the base is extremely fussy with loads of colours and narrow black lines separating various hexagons. So you start by filling all the black bits:

Half done

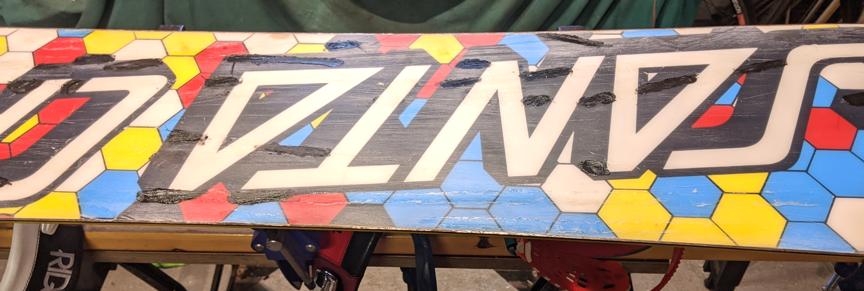
Then you use clear P-tex on everything else and give it all a good scrape. Sadly the weird base profile means that it’s damn near impossible to scrape the P-tex on the wings between the central plateau and the edges. So that’s another hour I’m not getting back.

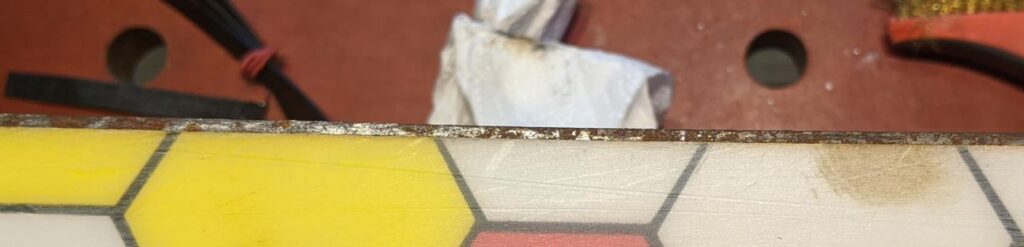
Edging was fairly straightforward. When edges are as rusty as that you don’t need to colour them in with a Sharpie to figure out the bevel as the rust does that for you. The best fit was 1.5 degrees base, although with the wings raised up so far it’s questionable if you need to bevel as you could never catch an edge accidentally. As the base edge was 1.5 the side has to be at least 1.5 so they were taken to 2 degrees. The only problem with rusty edges and white bases is the way the rust & file-lubricating water combine to look like someone has dipped your board in oxtail soup. Anyway, edges much shinier now:

Three reflections as I have three spotlights in the ceiling of the Cave

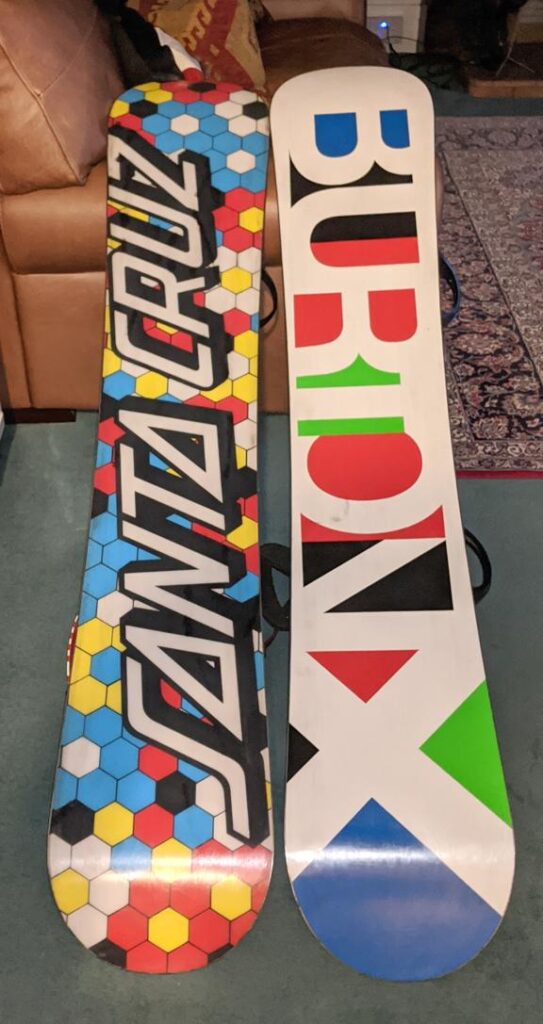
You can probably imagine how nightmarish the wax scraping was based on the base profile. I don’t really want to relive the experience so I’ll just post the finished board next to a much better behaved Burton:

Sean’s slight depression

Sean dropped off his & hers skis for fettling with a view to heading off to Austria later in the week. His skis are big Atomics, just looking for big piles of soft snow to whizz across, while hers were ZAGs, a brand I have to say had previously passed me by. In the hunt for guidance on how they are set up in the factory (the edges had been assaulted previously by one of those hand-held grinder dudes) I discovered that ZAG are based in Chamonix and source 95% of their materials in the EU – edges from Germany, wood for cores from Poland etc. All very laudable but the retail prices on their website are a reminder of why everyone else gets their gear made in China or Vietnam.

Lovely day so cleaned the bases in the garden. ZAGs are second right.

Anyway Sean’s skis didn’t look too bad until I ran a finger over this weird-looking light spot and it turned out to be a big depression:

Hard to see what happened to leave this behind

Unfortunately someone had already tried to fill the hole with repair P-tex which hadn’t quite cut the mustard but it makes future work that bit harder. Anyway, Sean was on a deadline and I hadn’t quoted for a serious repair involving cutting out the old P-tex and replacing it with new. So, time to hit & hope. Simply heating up the area to soften it up for additional P-tex is enough to melt the previous repair so you end up looking like you’re stirring a pot of soup as you try to make the new P-tex hot without melting the old.

Eventually with this sort of caper you give up because it becomes obvious that no-one could do a perfect job. This is as good as I could get it – better than before but not gorgeous:

Both sets of skis came up quite nicely in the end and here’s hoping there’s lots of lovely snow in Austria.

Tender Loving Care

When Dave picked up his planks a couple of days ago he asked what he should do to keep them in good condition. It turned into a bit of a list but there may be some value in recreating it here to save me some breath next time. So here it is, not necessarily in order:

  1. Once you get to the end of your trip dry your gear off. Properly. Remember that your bindings will have some packed snow in them. You’d be horrified at how much steel you have to remove from your edges to sort out rust damage.
  2. Use velcro & foam straps to keep your skis together without scraping the bases. I have a supply of unbranded ones at £1.50 each or you can spend £5 at well-known outdoor stores.
  3. Ski don’t slide. If you’re on hard snow/ice/stones skiing means you should only get longitudinal grazes which aren’t too damaging. Those 60 degree gouges in your base edges are a nightmare.
  4. If the surface is bad consider getting in the gondola to go down. For some reason this seems to have negative connotations but there’s nothing big or clever about gubbing your skis in the last 10 minutes of the day’s sport just so you can boast that your chalet is ski in/ski out.
  5. Carry a 200 grit diamond file in your pocket to tidy up any dings on the slope. Remember to wet the file surface before using.
  6. I’ve never done this myself but apparently some people stick old bits of hose pipe on their edges before they stick them in the bag to prevent transit damage and to stop the edges cutting the ski bag. Worth a try I suppose.
  7. Finally lots of people ask how often skis should be serviced. Obviously the answer is “when they need it”. Certainly after a week in the Alps you’ll probably need fresh wax and might need edges tidied up. If it’s been lovely soft snow all week the edges won’t need any attention. Conversely 15 minutes at Glenshee can reduce the best prepared kit to a shocking state. If you feel a little burr when you slide the flats of your fingers down the side edge from the top of the ski it’s probably time to do the edges. If you’re actually skiing (see 3) the burr should build up in the same plane as the base. Don’t mistake a burr (which feels sharper one way than the opposite way) with a nice sharp edge (which should be equally fine in both directions). Remember always check sharpness with the flats of your fingers and perpendicular to the edge to avoid slicing fingers.

Hope that was helpful.