Brian was interested in dabbling in the dark arts of ski tuning, so once he had signed the ski tech secrets act (cunningly disguised as the ManCave workshop disclaimer) we got to work on his Völkls. After base cleaning and the flatness check it was straight onto the base bevels. Like a lot of clients Brian had a long story explaining why he couldn’t dry off his gear after his last run – naturally it’s never the fault of the owner but no amount of self-justification alters the fact that you will lose a bit of steel from your precious planks if you let the rust worms nibble your edges.
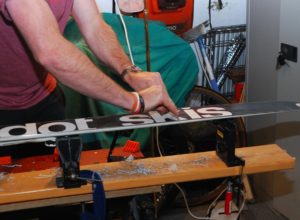
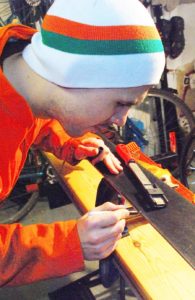
 Here Brian is sorting his base edges with one of the Moonflex diamond files. He has looked after his kit (rust notwithstanding) and it didn’t take much to get the edges cleaned up. As always I encourage clients to sharpen up to the tips and make sure they take a 200 grit diamond stone to the mountains so they can detune the tips if the skis are too grabby. It’s always easier to take an edge off on the slope rather then try to make an edge.
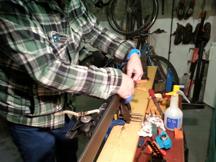
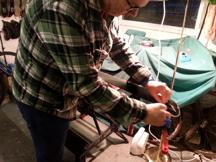
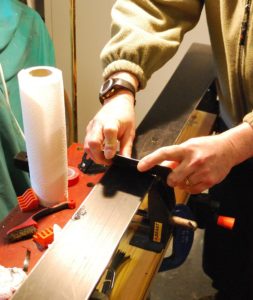
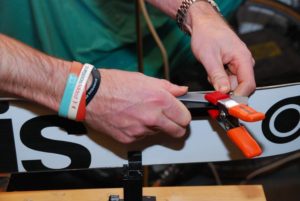
Side edges are 2 degrees, or 88 degrees if you are an inverse sort of person, and again we had to scrape off more steel than we wanted to get to bright metal. It’s a real shame to have to pick the hedgehogs of swarf out of the panzar file just because of a bit of water left on the edges a bit too long.
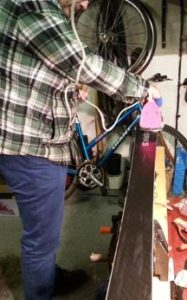 We soon got Brian busy with the waxing iron. This is the bit most people enjoy as they chase the melting edge of the wax up the base, especially the low temperature, runny base renew wax I like to use under the top wax.
Brian was pretty privileged as I cracked open a 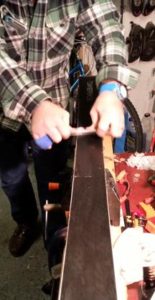 brand new wax scraper so the wax pretty much scraped itself. Doesn’t matter how carefully you sharpen your old perspex scraper it just never gets as sharp as a brand new one. At this point I want to point out that Brian arrived at the Man Cave with his fingers plastered up and that wasn’t the result of a new scraper incident.
Brian’s off to Chamonix in April so we agreed beforehand to apply the yellow Alphamix wax for soft spring snow. Sadly there was far too much blethering during the tutorial and we ended up using Zoom Universal instead, due to an autopilot error. No matter as it is supposed to be good to zero Celsius too, but really, pay attention John.
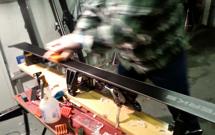 Of course people think they’re on the home straight when they’re ironing in the top wax but the most physical part of the whole service is coming – the brush up to a high shine. Usually I try to get sharp photos for the blog but this blurry job captures the effort & speed required.
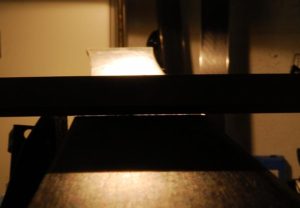
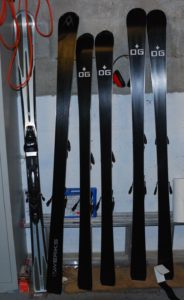
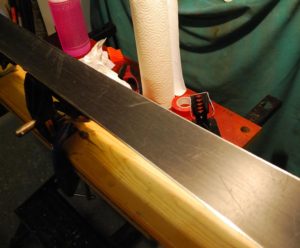
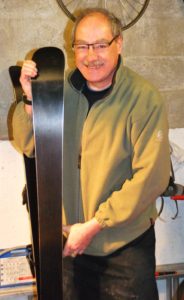
 Once Brian had headed home the other skis got a once-over. They were both Ogiers and definitely piste-bashers with narrow mid sections. They both had a bit of base gouging to sort and one set had a noticeably convex base. As always these base flatness photos are a drag to take and they don’t really show what you can see as you slowly drag the true bar down the base so once again you’ll have to trust me and use the eye of faith:
Once the gouges were filled & scraped the SkiVisions tools were pressed into service to bring down the central hump and to impart some new structure to the repaired base.
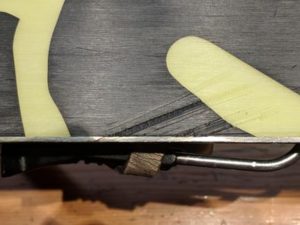
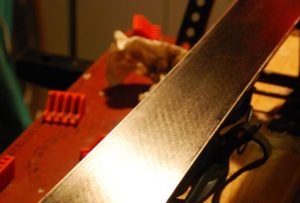
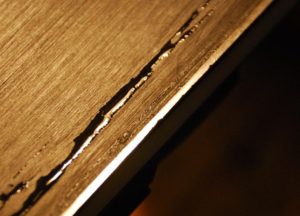 A couple of the edges had seen some life as the ragged edge here shows. Ignore the glossy black strip, that’s just a bit of lubricating water from filing the base edges. If these were back country skis I would be relaxed about the edge nicks as you don’t use edges when surfing bottomless powder, but of course these planks are intended to grip like limpets to the crunchiest corduroy or bluest ice on a knackered piste so really the dings have to be filed out to make a smooth edge. Cue yet more fur balls of filings all over the floor.
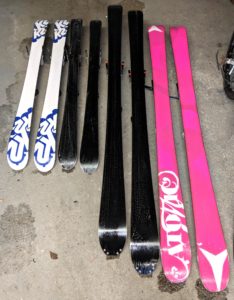
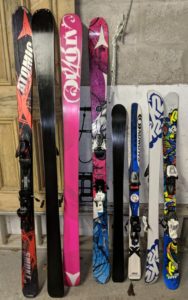
Finally all the gear is polished up – using the right wax this time – and ready for their class photo:

 They showed up a little bit concave with the truebar but well within acceptable limits. There were a few lumps & bumps & base gouges so these were filled and Matt got to scrape the repairs flat. Remember kids – steel scraper & brush for base repairs; any other times keep the steel away from the bases – you’re allowed brass brushes and perspex scrapers for waxing but no steel.
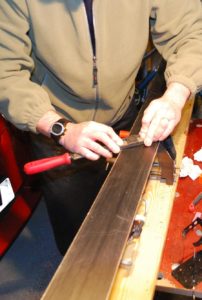 that people aren’t always 100% clear on what bevels are for, which is understandable given the ease of distribution of misinformation in the current era. So, you need edges to cut into hard snow & ice when you want to make a turn. When not turning, you want the steel out of the way as it is more draggy than waxed P-tex and you don’t want your skis to start turning by themselves. So we put a small angle on the face of the edge that faces the snow, typically 1 degree, max range probably 0.5 to 2 degrees. Smaller base angles (according to ski tuning orthodoxy) are for slalom guys who want their skis to initiate turns very quickly; bigger angles are for park dudes who don’t want their edges digging into the rails or for anyone who fears their tails digging in on mogully slopes. Naturally some forum experts advocate blended base angles (eg 1 degree underfoot, 2 degrees at the tails – make up your own variations) but this could be a case of keyboard cowboy differentiation signalling.
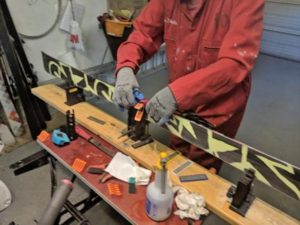
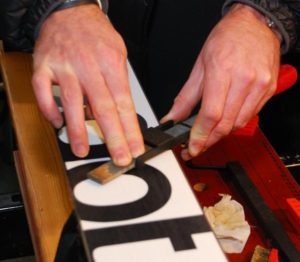
 Brexiteer/Remoaner arguments look demure and even handed. You do need to put an angle on the side edge, but should it be 1, 2, 3, even 4 or 5 degrees? Who knows. I run base 1 and side 3 on my Atomics because that’s how they leave the factory. Lots of other brands run 1,1 or 1,2 and people seem to be able to turn perfectly well on them. But don’t let that stop a heated argument in the bar! Here’s Matt giving his Nordicas 2 degrees.
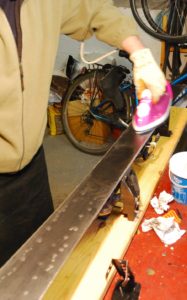 Once the edges are sorted, and Matt’s edges had a weird ultra-sharp burr that had to be eased out before gummi stoning them to perfection, it’s out with the £6 Tesco iron to wind up the purist wax dudes. Seriously, the thermostats all come from the same supplier in China whether you spend £6 or £300. Plus the steam holes don’t fill up with wax and burn down the garage, regardless of what you might read. Just fiddle with the heat setting until your chosen wax melts slightly reluctantly and there isn’t much smoke and you’re away. And wear a proper half face respirator with A1 or A2 filters. Matt is planning to head to Braehead with his Nordicas so it was a quick rummage in the wax bucket and out popped the Datawax graphite & fluoro “indoor snow” special wax.
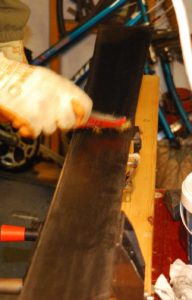
 Her K2 board looked nice but had a crazy concavity that was as bad as any I’ve seen – you could have slipped your pinky under the true bar at the worst bit. However flattening board bases takes much too long for a lesson so we patched and scraped a couple of gouges, edged & waxed the board and hey presto – ready to set a new speed record on the nearest hill.
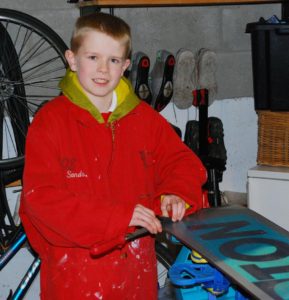 Yet another Burton board wandered into the cave today, with 11 year old Angus hiding somewhere behind it. He sees the benefit in taking control of his own destiny and learning how to edge & wax his kit.
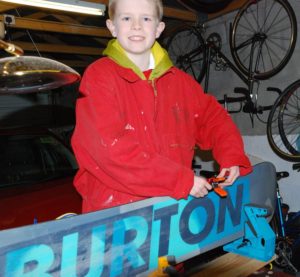 base issues, this time anyway.
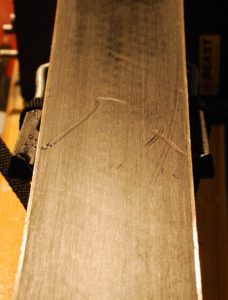
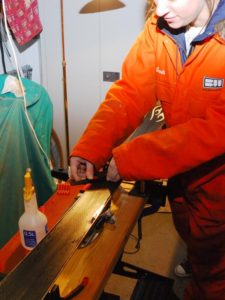
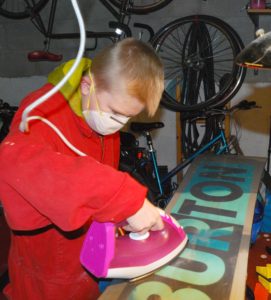 Finally we couldn’t ignore the P-tex battlefield that is Angus’s base any longer. Here’s a photo of Angus getting busy with the iron that will go down a storm with all the girls at school. The base has the usual dried out white lines that we associate with excessive dry slope bashing and it was a bit reluctant to soak up the wax to begin with but we soon beat it into submission. When the board comes back to the cave the base will be
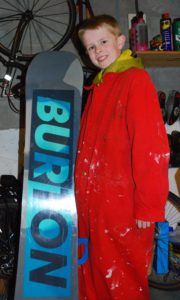
 Rachel dropped off two sets of skis, bravely volunteering her own K2s for a lesson while her other half’s Heads joined the queue with the others. Both sets had a few gouges on the base so we extended the lesson to cover prepping, filling & scraping the gouges.
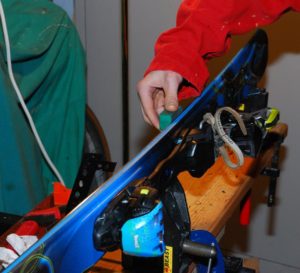 panzar file zinged away making that distinctive, high pitched riding on plastic noise regardless of what we tried. Eventually it was beaten by inhuman amounts of filing with a 200 grit diamond file. Naturally the next three edges all behaved themselves impeccably. Despite the beaten look of the steel they took a nice edge – here’s Rachel just putting the icing on the cake with the gummi.
 The extra time used on base planing, gouge filling & filing the cussed edge meant that we were keen to get the waxing sorted quickly. Fortunately Rachel proved to be a world-class wax scraper, and despite protestations that she never irons she was a dab hand at that too. It could be argued that we didn’t spend the prescribed amount of time waiting on wax for either base or top coat but by now the combined stomach rumbling sounded like the Harley Owner’s Club firing up for a quick blat to Flora’s café so we pressed on.
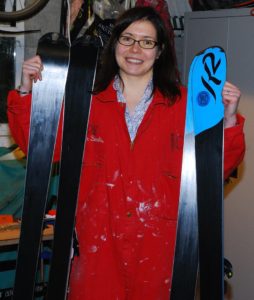

 Base edges are one degree and they needed little more than a few swipes to get all the Sharpie ink (and rust) off and settled into their old glory. Linda is using the 200 grit diamond file in the photo which is just long enough for the base file guide and needs careful finger support to keep it all together. Diamond file enthusiasts will note the spray bottle of highly specialised diamond file cutting fluid (Aberdeen tap water) on the bench.
 A key part of learning to tune your own gear is to involve all your senses in the job. Fingers are great at feeling inconsistencies that you might not see; files running on plastic sidewall instead of steel edge make a high-pitched whizz and nothing really beats the 10x hand lens for getting to see exactly what’s going on. Lots of people struggle with hand lenses but Linda got the style straight away – hold it close to your eye and move your head close to the area of interest. Sadly all she got to see here was rusty pits on the inside of her edges but no matter – she’s around the curve of the tip so we don’t really care other than for aesthetics.
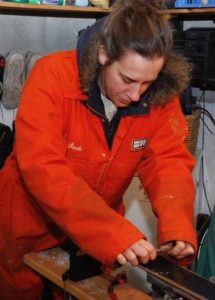

 Next step as always is to double check the base bevels with a sharpie and file in the appropriate base file guide. They were already at 1 degree as per manufacturer’s guidance so they were just given a few swipes to clear rust and a couple of minor scratches.
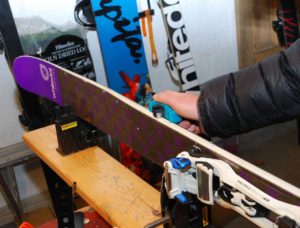 Before we could do any edging the sidewalls needed planing. Although the skis had been tuned once before there was a good bit of plastic in the way of the edging tools. As always getting the right combination of weight & speed to plane the sidewall perfectly smooth takes plenty of time & patience, especially as these walls had been left pretty lumpy by the last guy. If in doubt many fast & light strokes always beat one huge heroic effort. And finally, don’t be frightened to use a knife to remove big lumps if the alternative is shattering your planer blade.
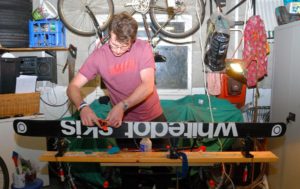
 John tried out a few angles with the wax scraper, including this one pictured left. As always touring skis are a drag to scrape just because they are so big.
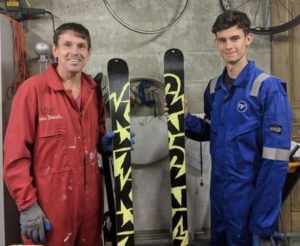
 The scraping showed up the weird M-shaped bases again but some furious brushing left them in tip top condition. Here’s John showing off his planks and just ready to head back home and dig out a few more sets of skis for the treatment.
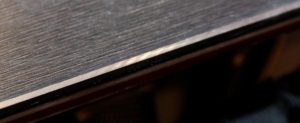
 Armada don’t bother to put any tuning info on their website but good old Jon Coster at the Piste Office has done his homework and reckons base 1/edge 2. It’s good to check so out with the trusty Sharpie to colour up a length of edge.
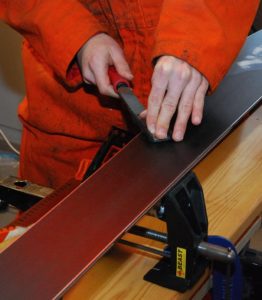 The base edges have very little marking or gouging so all we do is a few passes with the steel file to take off the mechanical markings then a pass with the 200 grit diamond file for luck. Base edges only really need attention after you have gouged them on rocks so this should see them good for a couple of trips.
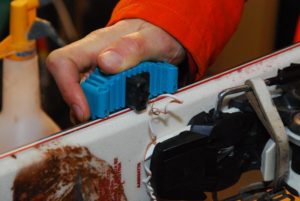 The side edges present a slight issue – Armada have somehow managed to make the plastic tops of the skis protrude very slightly over the steel edges and they have added a load of extra plastic at the binding area. We can’t see any good reason for this but it means leaving a lot of colourful curly plastic on the floor with the sidewall planer.
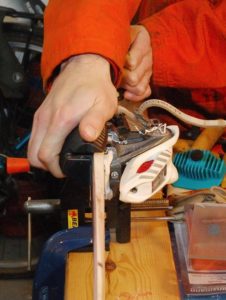 Once we have access to the edges they are also checked and 2 degrees it is. Armada manage to score a point for marking the skis L & R so we know which edges to give the extra attention to. One edge has very slight scratching but it comes out completely with some elbow grease. After the steel file, 200 grit and 600 grit diamond files the edges are gleaming like a samurai sword and too sharp so the gummi stone is used to bring them back to sharp but safe rather than hazardously sharp.
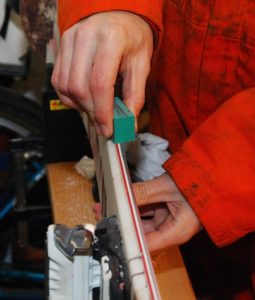
 There are a few minor gouges on the bases but nothing too serious so it’s time for base wax. The skis are quite wide & long so it is, frankly, a laborious process to iron in then scrape off the wax but the bases really needed it. Myles is planning a trip to the Alps in January so as the crystal weather ball doesn’t stretch that far we opted for Zoom Universal which is supposed to be good for -10 to 0 degrees C.
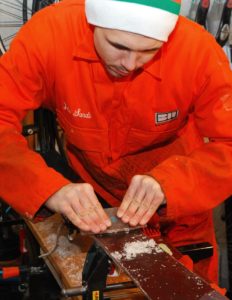 Scraping the bases highlighted the slight concavity we had measured right at the start of the process but like the base gouges we put the lightly railed base into the “maybe later” tray.