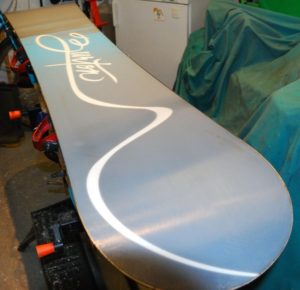
Every service starts with a quick eyeball to see what’s what. Scott bought a used board from a mate and it looked OK from a distance:

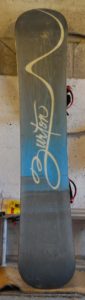
Nice subtle paint job of the sun going down, top in good condition. However the base was just odd:
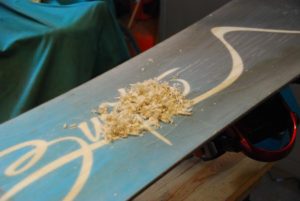
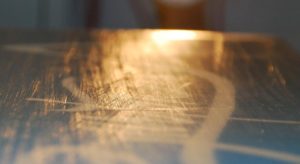
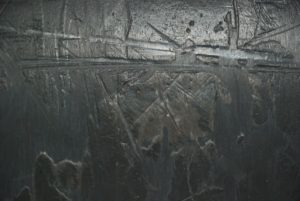 It seemed to have about 3mm of something – wallpaper paste? dried up porridge? – on the base. It can’t have been wax as wax comes off when you go down the hill, and the board had clearly been used since the porridge application. Also wax is slippery and this stuff is sticky. You can see how deep it is – the horizontal gouge across the top of this photo disappeared completely once the board was de-porridged.
Anyway whatever it was there was a lot of it. I took the snap below after two minutes of just lightly scraping. Scraping turns the porridge into corn flakes.
Once the base was scraped & cleaned with degreaser it failed the true bar test:
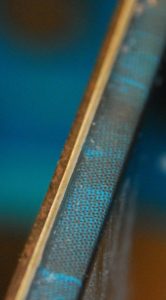
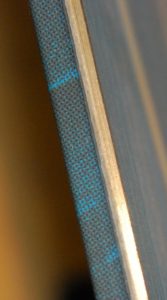
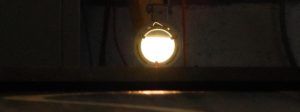 As always the base flatness is not easy to photograph convincingly but there was nearly a 2mm gap in the middle along half the length of the board. Concave bases are grabby bases as you are always riding the edges rather then the base even when you are trying to ride completely flat. However the P-tex is only 2mm thick so you can’t expect to cure this particular case completely. So out with the Base Planer to bring as much off the edges as I could without destroying the base altogether. One good thing about a base grind like this is that lots of superficial scratches just disappear and only the humdingers remain.
Gouges carefully filled with clear & colourless P-tex then scraped flat:
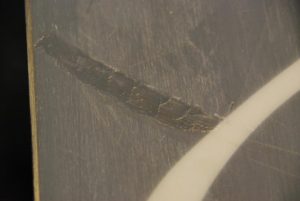
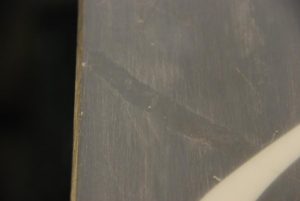
You can still see the shadow of the P-tex after it’s been scraped as the P-tex fills the structure where it has been applied. So we need to structure the base after scraping all the repairs. Here’s the board following structuring:
Base edges need to be reset completely after a base grind so about 10 passes with the file & guide before it’s even worth colouring the edge. Once the edge is inked up it took five more passes to remove the Sharpie ink completely, then smooth the edges up with the diamond files.
Side edges were rusty at first but it didn’t take much to batter them into shape:
One feature of resetting the base edges is a strong tendency to build a burr on the edge. You can feel this easier than see it – nicely sharpened edges feel equally sharp whether you stroke your fingers up or down the edge (looking from above, remember to always check for sharpness of any edge by stroking perpendicular to the length of the edge/blade) but a burr makes the edge feel much sharper in one direction. We use this effect to make our steel scrapers sharper, but on a ski or board we want rid of it and the easiest way to do this is to redo the base edges – just a couple of strokes – then a pass or two on the side edges again and all should be well.
The base lapped up the base renew wax like a man who had arrived at a free bar after two days wandering in the Sahara. Top wax, scrape & polish and the board is looking good, fully cleansed of sticky cereal and ready for action: