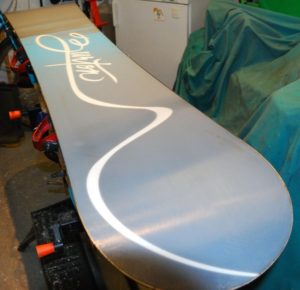
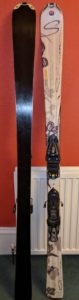
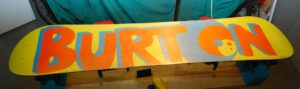
Every service starts with a quick eyeball to see what’s what. Scott bought a used board from a mate and it looked OK from a distance:

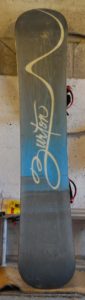
Nice subtle paint job of the sun going down, top in good condition. However the base was just odd:
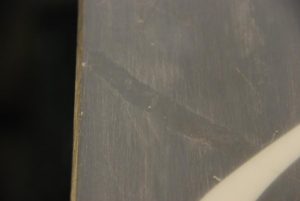
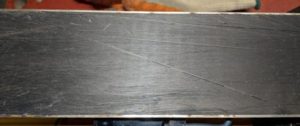
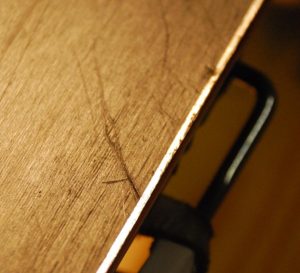
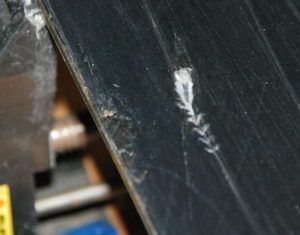
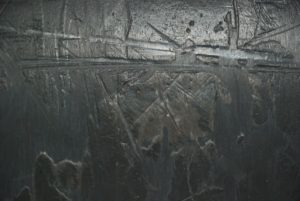 It seemed to have about 3mm of something – wallpaper paste? dried up porridge? – on the base. It can’t have been wax as wax comes off when you go down the hill, and the board had clearly been used since the porridge application. Also wax is slippery and this stuff is sticky. You can see how deep it is – the horizontal gouge across the top of this photo disappeared completely once the board was de-porridged.
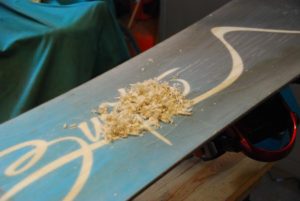
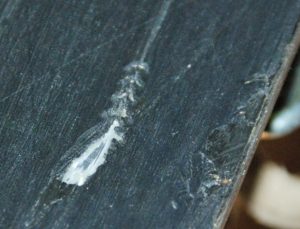
Anyway whatever it was there was a lot of it. I took the snap below after two minutes of just lightly scraping. Scraping turns the porridge into corn flakes.
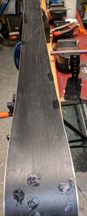
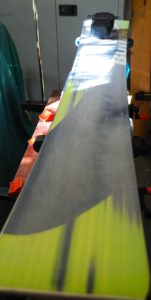
Once the base was scraped & cleaned with degreaser it failed the true bar test:
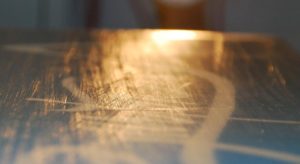
 As always the base flatness is not easy to photograph convincingly but there was nearly a 2mm gap in the middle along half the length of the board. Concave bases are grabby bases as you are always riding the edges rather then the base even when you are trying to ride completely flat. However the P-tex is only 2mm thick so you can’t expect to cure this particular case completely. So out with the Base Planer to bring as much off the edges as I could without destroying the base altogether. One good thing about a base grind like this is that lots of superficial scratches just disappear and only the humdingers remain.
Gouges carefully filled with clear & colourless P-tex then scraped flat:
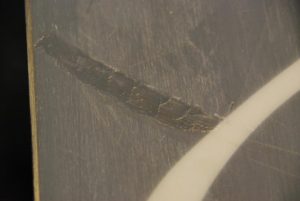
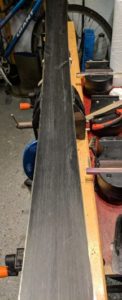
You can still see the shadow of the P-tex after it’s been scraped as the P-tex fills the structure where it has been applied. So we need to structure the base after scraping all the repairs. Here’s the board following structuring:
Base edges need to be reset completely after a base grind so about 10 passes with the file & guide before it’s even worth colouring the edge. Once the edge is inked up it took five more passes to remove the Sharpie ink completely, then smooth the edges up with the diamond files.
Side edges were rusty at first but it didn’t take much to batter them into shape:
One feature of resetting the base edges is a strong tendency to build a burr on the edge. You can feel this easier than see it – nicely sharpened edges feel equally sharp whether you stroke your fingers up or down the edge (looking from above, remember to always check for sharpness of any edge by stroking perpendicular to the length of the edge/blade) but a burr makes the edge feel much sharper in one direction. We use this effect to make our steel scrapers sharper, but on a ski or board we want rid of it and the easiest way to do this is to redo the base edges – just a couple of strokes – then a pass or two on the side edges again and all should be well.
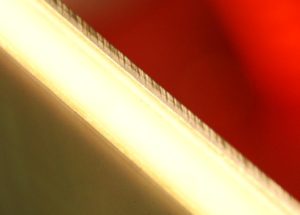
The base lapped up the base renew wax like a man who had arrived at a free bar after two days wandering in the Sahara. Top wax, scrape & polish and the board is looking good, fully cleansed of sticky cereal and ready for action:
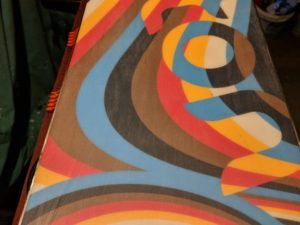
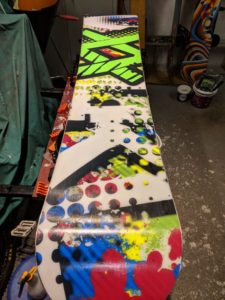

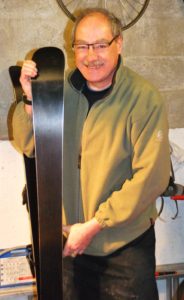
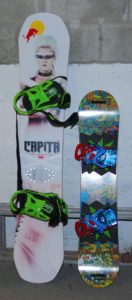 As you can probably see Martin’s still completely blind to board top aesthetics. Still the DOA board has a good reputation although I find the naming (apparently “Defenders of Awesome” rather than the other more medical term) slightly tasteless.
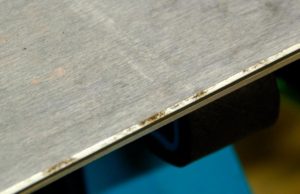
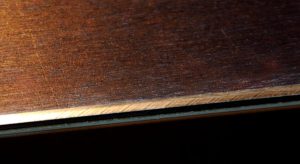
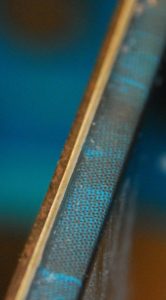
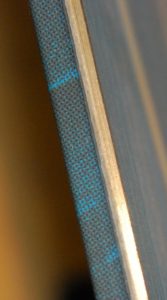
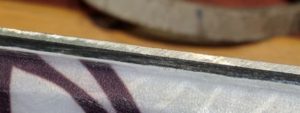
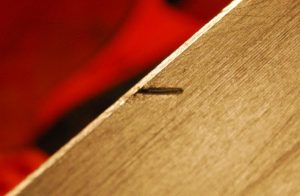
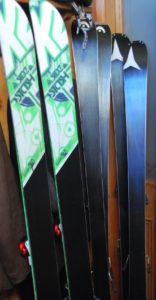
 If you look closely you can see there is a line parallel to the base which marks the point where the angle breaks from less than 1.5 degrees to more than 1.5. What are they playing at? The temptation here is to work the edge to a single, whole number angle and just get rid of whatever the factory tried to put on. However, again, rather than file away the life of the board I decided to leave it as is and sort it out when Martin comes back from his first break. So a couple of coats of Zoom wax and it was good to go.
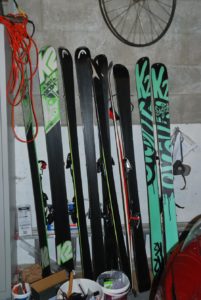
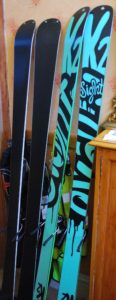
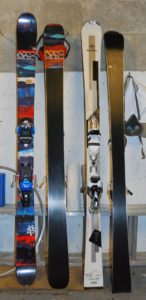 Following a bit of a photo drought I finally remembered to snap the finished skis. The Rossis (white tops) are remarkably lightweight and, combined with their sensible black bases, were a pleasure to work on. As a wee bonus Alasdair dropped off his brand new Atomics for a once over when he picked up Lara’s skis.
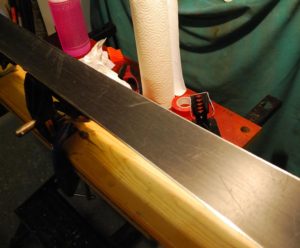
 They showed up a little bit concave with the truebar but well within acceptable limits. There were a few lumps & bumps & base gouges so these were filled and Matt got to scrape the repairs flat. Remember kids – steel scraper & brush for base repairs; any other times keep the steel away from the bases – you’re allowed brass brushes and perspex scrapers for waxing but no steel.
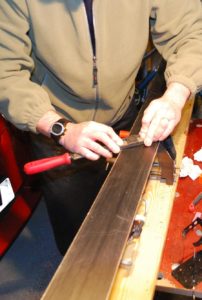 that people aren’t always 100% clear on what bevels are for, which is understandable given the ease of distribution of misinformation in the current era. So, you need edges to cut into hard snow & ice when you want to make a turn. When not turning, you want the steel out of the way as it is more draggy than waxed P-tex and you don’t want your skis to start turning by themselves. So we put a small angle on the face of the edge that faces the snow, typically 1 degree, max range probably 0.5 to 2 degrees. Smaller base angles (according to ski tuning orthodoxy) are for slalom guys who want their skis to initiate turns very quickly; bigger angles are for park dudes who don’t want their edges digging into the rails or for anyone who fears their tails digging in on mogully slopes. Naturally some forum experts advocate blended base angles (eg 1 degree underfoot, 2 degrees at the tails – make up your own variations) but this could be a case of keyboard cowboy differentiation signalling.
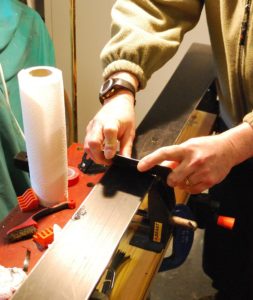
 Brexiteer/Remoaner arguments look demure and even handed. You do need to put an angle on the side edge, but should it be 1, 2, 3, even 4 or 5 degrees? Who knows. I run base 1 and side 3 on my Atomics because that’s how they leave the factory. Lots of other brands run 1,1 or 1,2 and people seem to be able to turn perfectly well on them. But don’t let that stop a heated argument in the bar! Here’s Matt giving his Nordicas 2 degrees.
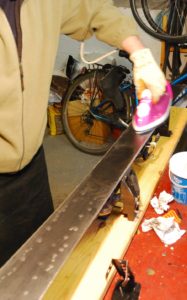 Once the edges are sorted, and Matt’s edges had a weird ultra-sharp burr that had to be eased out before gummi stoning them to perfection, it’s out with the £6 Tesco iron to wind up the purist wax dudes. Seriously, the thermostats all come from the same supplier in China whether you spend £6 or £300. Plus the steam holes don’t fill up with wax and burn down the garage, regardless of what you might read. Just fiddle with the heat setting until your chosen wax melts slightly reluctantly and there isn’t much smoke and you’re away. And wear a proper half face respirator with A1 or A2 filters. Matt is planning to head to Braehead with his Nordicas so it was a quick rummage in the wax bucket and out popped the Datawax graphite & fluoro “indoor snow” special wax.
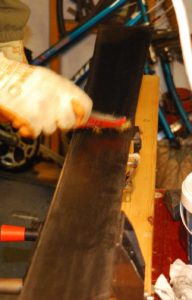
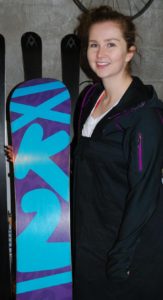 Her K2 board looked nice but had a crazy concavity that was as bad as any I’ve seen – you could have slipped your pinky under the true bar at the worst bit. However flattening board bases takes much too long for a lesson so we patched and scraped a couple of gouges, edged & waxed the board and hey presto – ready to set a new speed record on the nearest hill.