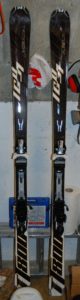
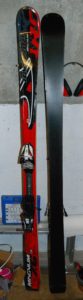
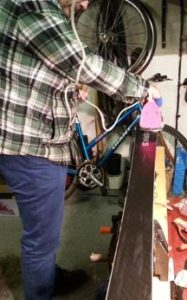
 Richard dropped off his brand new, never been skied Head Icon TTs for a wax. There has been a lot of hot air exhaled online on the question of whether brand new skis are as good as they can be or do they benefit from a going over from a decent tech before use. The arguments boil down to:
The “Don’t touch ’em” side:
- Surely the manufacturer uses the best possible wax prior to shipping?
- Surely the manufacturer uses the best possible grinders for base & edge angles?
- Surely the manufacturer’s tight QA/QC wouldn’t allow convex or concave bases out of the factory gate?
The “Give them a once over” side:
- They just plonk whatever spray on wax will stop the edges from rusting in transit.
- They run the skis through the edging equipment as fast as possible and only change the stones/belts/grinders when they break.
- The skis are still cooling down as they leave the factory and you should anticipate a bit of warping in transit.
Now I have never had the pleasure of visiting a ski factory so I can’t comment directly, although I have seen some interesting QA/QC diversions come out of Chinese factories on other products – and let’s face it, the majority of skis in the shop today are made in China.
So I’m going to record a few photos and let you make your mind up about the big debate, for these skis at least.
Flatness – not bad, not as good as Emmett’s Heads a few months ago, slight concavity but not significant enough to be worth photographing.
Edges:
 Base edges showing unevenness where the grinder has bounced along, most noticeable on the inside edge where the light reflects.
 This side edge shows where the grinder has gone from one angle to another, probably relating to the side cut of the ski passing a certain angle, or possibly just from the ski bouncing as they throw it through the machine as fast as possible.
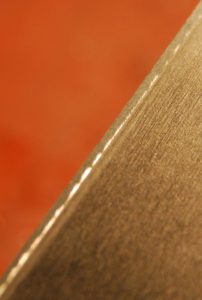
 This is something similar but over a longer distance- you can see the edge reflecting the light getting thinner and thinner from the top of the picture to the bottom.
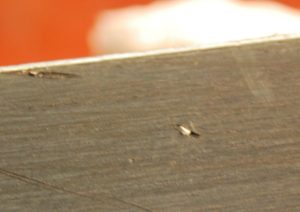
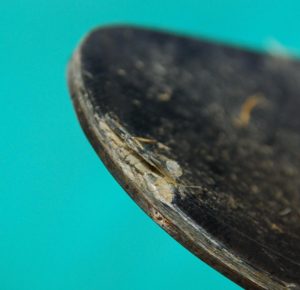
 This photo shows a small ding on the edge – nothing serious but very hard to avoid this sort of thing in a container full of skis making their way from the far east to the UK. You can also see that they have ground the plastic above the edge with the grinder rather than planing it out of the way. Fair enough, why waste the time planing the plastic, but it does mean that their grinder wheel will fill up with plastic and won’t make a clean cut after a while.
My brief from Richard was to clean the bases and get base then top wax onto the skis so I didn’t touch the edges. He’s planning to come back for a lesson in March so he can sort them out himself after that.
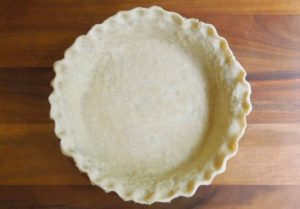
 Nothing wrong with the bases, look at that lovely stone-ground linear discontinuous structure. No easy way to get that without the stone-grind machine, although cross-country skiers have little steel rollers that they can use to impress different structures on their narrow planks.
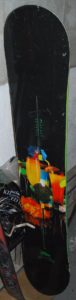
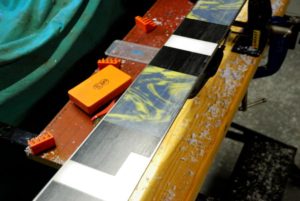
Waxing is easy on these fairly narrow skis – here 
they are after the base wax has been scraped and brass brushed to force it all into the structure grooves. Even at this stage it’s looking a bit shiny (right).
 Finally the second coat of Zoom Universal has had its hour soaking in and scrapes and brushes to a high shine (left).
So you’ve seen the photos and I’ll leave you to come to your own conclusions on whether the factory finish meets your own standards.
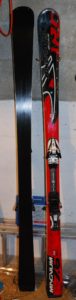
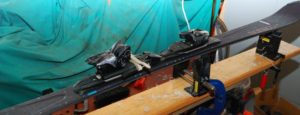
 Tom dropped off his Blizzards for a service. Apparently he picked them up second hand in Norway. It certainly appears from this small sample that our Viking friends know how to look after their kit – the edges had been tuned previously but whoever did it retained the Blizzard standard base 1 degree/side 3 degrees, and the bases were as perfectly flat as any ski I’ve seen.
 Anyway bright metal wasn’t too far away and the edges were soon back to their best. Two coats of wax, some scraping and brushing and they are ready to rock.
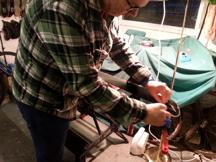 Here Brian is sorting his base edges with one of the Moonflex diamond files. He has looked after his kit (rust notwithstanding) and it didn’t take much to get the edges cleaned up. As always I encourage clients to sharpen up to the tips and make sure they take a 200 grit diamond stone to the mountains so they can detune the tips if the skis are too grabby. It’s always easier to take an edge off on the slope rather then try to make an edge.
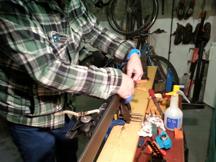
 We soon got Brian busy with the waxing iron. This is the bit most people enjoy as they chase the melting edge of the wax up the base, especially the low temperature, runny base renew wax I like to use under the top wax.
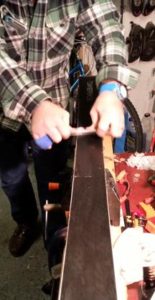 brand new wax scraper so the wax pretty much scraped itself. Doesn’t matter how carefully you sharpen your old perspex scraper it just never gets as sharp as a brand new one. At this point I want to point out that Brian arrived at the Man Cave with his fingers plastered up and that wasn’t the result of a new scraper incident.
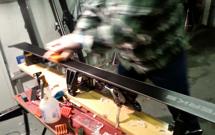 Of course people think they’re on the home straight when they’re ironing in the top wax but the most physical part of the whole service is coming – the brush up to a high shine. Usually I try to get sharp photos for the blog but this blurry job captures the effort & speed required.
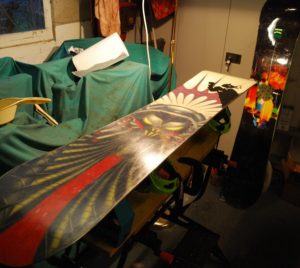
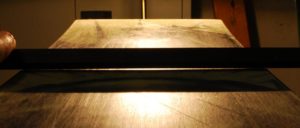
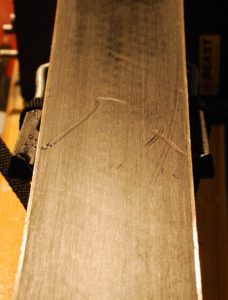 Once Brian had headed home the other skis got a once-over. They were both Ogiers and definitely piste-bashers with narrow mid sections. They both had a bit of base gouging to sort and one set had a noticeably convex base. As always these base flatness photos are a drag to take and they don’t really show what you can see as you slowly drag the true bar down the base so once again you’ll have to trust me and use the eye of faith:
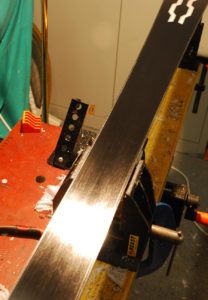
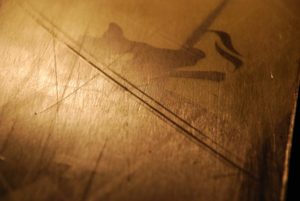
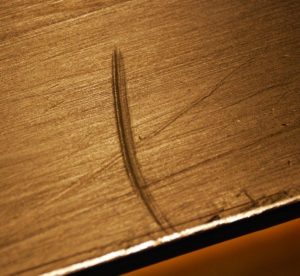
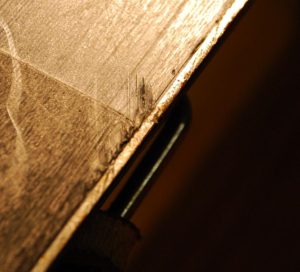
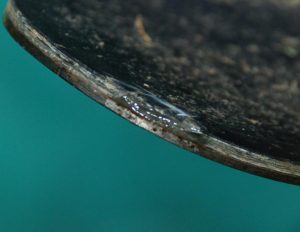
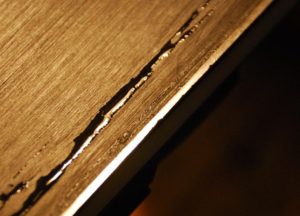 A couple of the edges had seen some life as the ragged edge here shows. Ignore the glossy black strip, that’s just a bit of lubricating water from filing the base edges. If these were back country skis I would be relaxed about the edge nicks as you don’t use edges when surfing bottomless powder, but of course these planks are intended to grip like limpets to the crunchiest corduroy or bluest ice on a knackered piste so really the dings have to be filed out to make a smooth edge. Cue yet more fur balls of filings all over the floor.
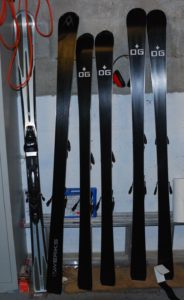
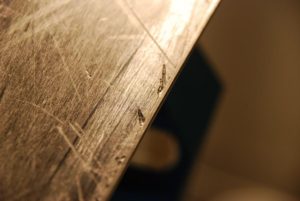


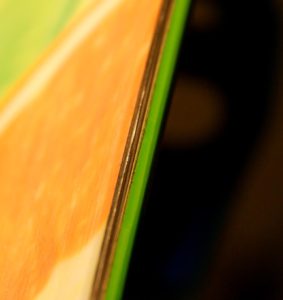 The light really shouldn’t be reflecting from the edge like that and it takes a surprising amount of edge filing to get rid of it. I consider myself a conservative tech – you only get so much edge to play with over the life of your gear – so I hate having to file away tonnes of good metal to recover an edge. However better to have the edge there when you hit that icy patch…
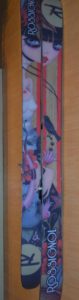


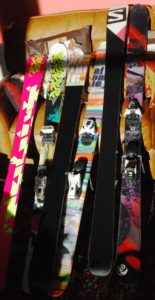

 Usual edge & wax job and here they are all shiny and ready to go again. Just watch out for hungry pandas on the slopes.
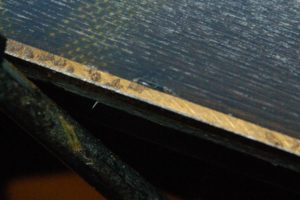
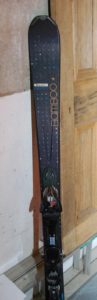
 I’ll admit that I like Atomic skis a lot. They are one of the few ski manufacturers that unashamedly ship skis with 1 degree base & 3 degree side bevels – the golden ratio according to many of the
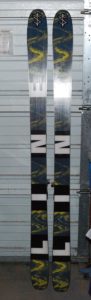
 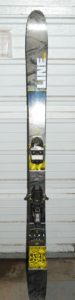 Her LINE skis are needed for a trip to the Alps on Friday so she brought them round for some pre-trip TLC. They are a good looking ski, quite wide under the binding but not ironing-board wide like true powder skis. Pretty light too.
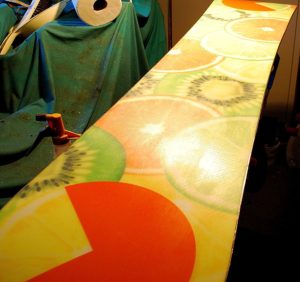
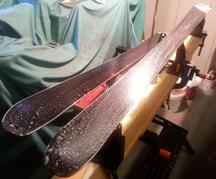
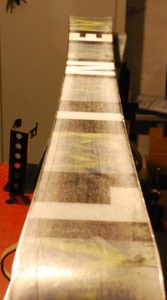
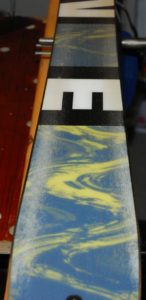 Serious white lines on the bases indicating not just “not much” wax left but frankly indicating “less than zero wax left”. To get this effect requires years of studious neglect. It’s not 100% percent certain that simply waxing them will bring them back to life once they have reached this state. When ski forum experts talk about “oxidized” bases this is what they mean. Any organic chemists out there care to comment on whether or not high molecular weight polyethylene gets “oxidized” rather than “scratched”?
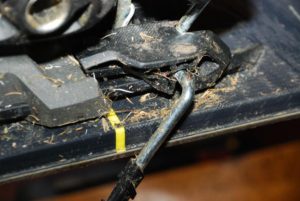 Another giveaway that the skis are more used to pastoral use is the amount of grass & soil in the bindings.
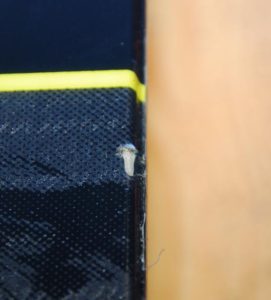

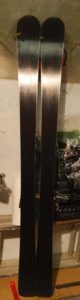
 Nothing like as bad as they were, and I would hope that the two coats will keep Hazel gliding for a whole week in the Alps, but not quite perfect. Nothing for it but another visit to the ManCave after the Alps to freshen up the structure, check out the various nicks and wax them back up again. Of course the huge discount means the more work she gets done the more savings she’ll have for Jägerbombs or whatever young people drink on ski trips these days. Bon voyage!