As promised Angus tore himself away from the snow at Glenshee to drop off his dry slope bashing board for a bit of base restoration. I’ve never actually had a session at Garthdee but it seems to involve a lot of attacking each others’ boards with hand held grinders:
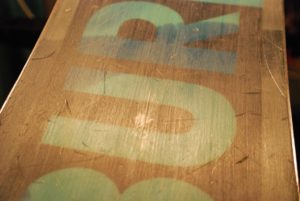
The board was also fairly concave so it took a fair base of base planing to get it flat. This takes off some of the more superficial gouges…
…but still leaves the big ones to deal with. Experience has shown that it takes two or even three passes of P-texing & scraping to get a really mashed base clean and there really isn’t any way to short cut the fill & scrape process.
Here is the board smothered in clear & colourless P-tex the first time:
And the second pass, which included all the metal-grip down along the rather gappy edges:
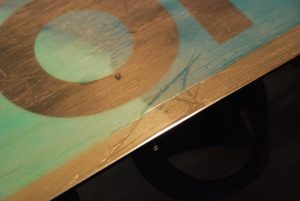
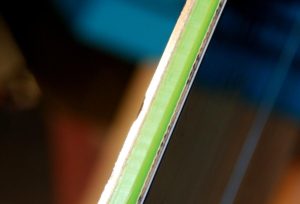
However eventually it is ready for structuring with the trusty SkiVisions tools, tidying up the edges (which is easy as they were last done a few weeks ago by Angus himself) then some Zoom Universal wax to keep it looking nice and shiny until the next robot wars session at the dry slope.
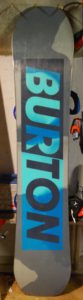
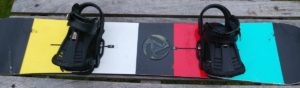
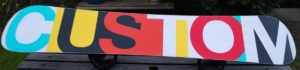
The tidal wave of Burton boards continues with Alex’s snazzy Custom:
He was quoted a one week turnaround at one of the other providers in Aberdeen but is leaving on Friday so he took advantage of the fast ManCave turnaround to get his gear sorted in good time – 18 hours from drop off to ready for pick up in this case. We can do it faster if you need it – call to see what we can do for you.
The tops looked fine at first…
…then you spot the split:
Holy smoke! Not much we can do here as the tip flexes so much no amount of glue will help. However it’s Alex’s choice if he wants to use it like this and we’re here to sort the base.
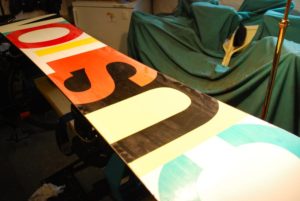
Once the many, many gouges are filled:
They need to be structured:
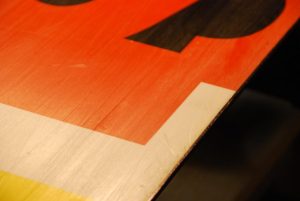
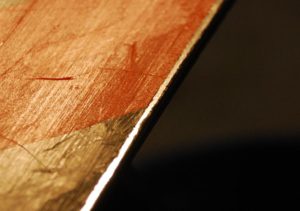
As always the clear & colourless P-tex means you can still see the gouges even though they have been filled. However I’m waiting for some coloured P-tex strips to come so maybe some coloured base repairs will look a bit better. Or, more likely, will have a slightly mismatching colour repair. Anyway the edges looked liked they have never been serviced, still showing a light crisscrossing grain from mechanical edging. The edges, like the rest of the board, have lived life to the full (and beyond) and show some signs, like the missing curve of steel below:
Bases and sides are both 1 degree and both need plenty of work to recover a good edge but once there sorted they are very nice. As always I like to treat a freshly structured base to some purple Zoom base renew wax first and the base soaked it up like a first pint on a Friday night. It’s a big board and scraping and brushing takes a while but finally the top wax is shined up and the base (let’s not dwell on the split top) looks like new:
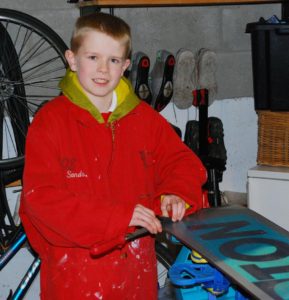
Yet another Burton board wandered into the cave today, with 11 year old Angus hiding somewhere behind it. He sees the benefit in taking control of his own destiny and learning how to edge & wax his kit.
He’s been keeping it looked after and he learned how the Sharpie can be used to quickly find the current angles. The edges were bang on 1 degree base & side which makes things easy for us. He’s a dry
slope dude and his edges don’t suffer from stone bites but the base! Lord above. However it was an edge & wax lesson so we politely avoided the base issues, this time anyway.
Side edges were a breeze but needed a tiny bit of plastic to be planed off and the toe edge was noticeably less sharp than the heel edge so it took a bit more effort and elbow grease to get just right. Angus is still at school so hasn’t completely lost the ability to listen once and do what he’s told straight away, which is refreshing. He picked up the difference between the right & wrong noise & feel for the diamond files very quickly which was gratifying.
Finally we couldn’t ignore the P-tex battlefield that is Angus’s base any longer. Here’s a photo of Angus getting busy with the iron that will go down a storm with all the girls at school. The base has the usual dried out white lines that we associate with excessive dry slope bashing and it was a bit reluctant to soak up the wax to begin with but we soon beat it into submission. When the board comes back to the cave the base will be flattened, filled, structured and waxed which should reset it to like new and will help new wax adhere better.
Following some scraping and brushing, which pretty much proved that some jobs are simply easier for bigger stronger people, the board came up pretty well and is ready to start bothering the nylon at Garthdee again.
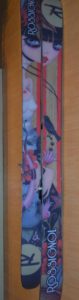
Friday saw a set of Rossignols and a pair of Burton boards dropped off.
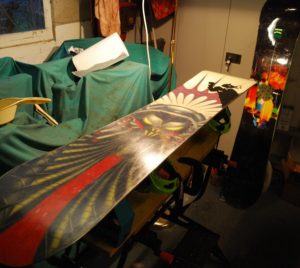
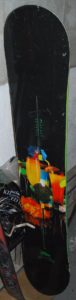
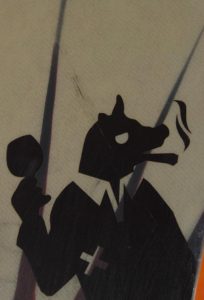
Burton A is a 2006/7 Uninc 154 which has a set of graphics which may not be to everyone’s taste – sort of a cross between Judge Dredd and Guernica:
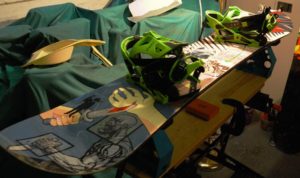
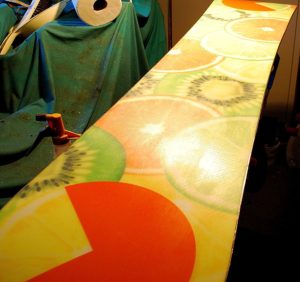
Burton B is a 2012-ish custom restricted which has a rather inoffensive cocktail theme:
And – wait for it – scratch and sniff citrus patches on the base:
Good to see that the Burton techie team hadn’t been wasting their time between 2006 & 2012. Interestingly Burton A had quite a few nicks and scratches on the base but edges in great condition whereas Burton B was the other way round.
Burton A:
Burton B:
Filling the base nicks was easy enough, apart from the fact that the scratches kept going from black to coloured P-tex and back again – leading to the odd bit of colour creep – the black wisp coming from the head of the brandy-drinking, cigar-smoking pig shouldn’t really be there:
Once the Burton A base was sorted – well not 100% sorted as it had a bit of a concave thing going on that was improved but not eliminated – you only have so much P-tex on a base after all:
yes this is before and the other one is after – it’s about 0.5 mm better, honest…
So once the gouges were sorted edging & waxing were a doddle.
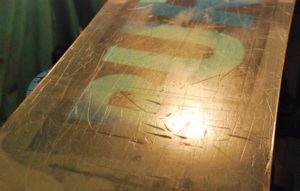
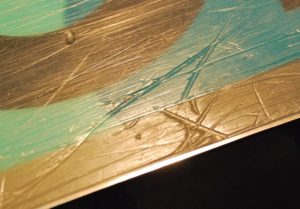
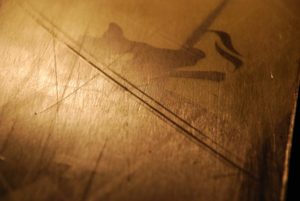
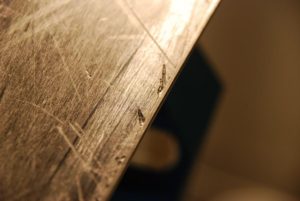
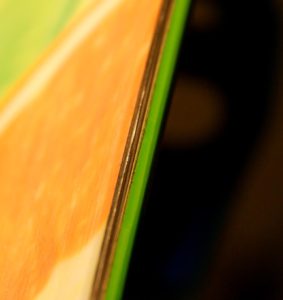
Burton B, on the other hand, needed a lot of edging work. One thing the Burton Tech Team had achieved in six years, apart from the technical triumph of the scratch’n’sniff patches, was the introduction of the Frostbite edge. Great name, and supposed to address the reduced edge contact you get with a board with pronounced camber. So what is frostbite in real life? It turns out to be a tiny bit more metal under the binding area, barely discernible with the naked eye. Anyway both the edges had unfortunate 45 degree flats on them:
The light really shouldn’t be reflecting from the edge like that and it takes a surprising amount of edge filing to get rid of it. I consider myself a conservative tech – you only get so much edge to play with over the life of your gear – so I hate having to file away tonnes of good metal to recover an edge. However better to have the edge there when you hit that icy patch…
It was nice to get back to the Rossis after the boards and they too had lovely bases but slightly knackered edges. I’ll leave you to make up your own minds about the graphics…
This website uses cookies to improve your experience. We'll assume you're ok with this, but you can opt-out if you wish. Cookie settingsACCEPT
Privacy & Cookies Policy
Privacy Overview
This website uses cookies to improve your experience while you navigate through the website. Out of these cookies, the cookies that are categorized as necessary are stored on your browser as they are essential for the working of basic functionalities of the website. We also use third-party cookies that help us analyze and understand how you use this website. These cookies will be stored in your browser only with your consent. You also have the option to opt-out of these cookies. But opting out of some of these cookies may have an effect on your browsing experience.
Necessary cookies are absolutely essential for the website to function properly. This category only includes cookies that ensures basic functionalities and security features of the website. These cookies do not store any personal information.
Any cookies that may not be particularly necessary for the website to function and is used specifically to collect user personal data via analytics, ads, other embedded contents are termed as non-necessary cookies. It is mandatory to procure user consent prior to running these cookies on your website.
 takes two or even three passes of P-texing & scraping to get a really mashed base clean and there really isn’t any way to short cut the fill & scrape process.
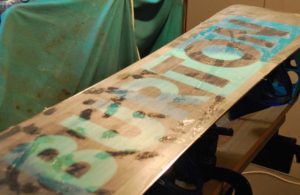

 However eventually it is ready for structuring with the trusty SkiVisions tools, tidying up the edges (which is easy as they were last done a few weeks ago by Angus himself) then some Zoom Universal wax to keep it looking nice and shiny until the next robot wars session at the dry slope.
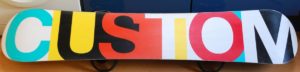

 Yet another Burton board wandered into the cave today, with 11 year old Angus hiding somewhere behind it. He sees the benefit in taking control of his own destiny and learning how to edge & wax his kit.
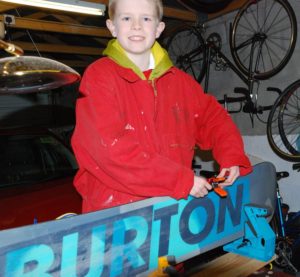 base issues, this time anyway.
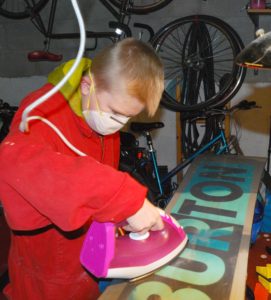 Finally we couldn’t ignore the P-tex battlefield that is Angus’s base any longer. Here’s a photo of Angus getting busy with the iron that will go down a storm with all the girls at school. The base has the usual dried out white lines that we associate with excessive dry slope bashing and it was a bit reluctant to soak up the wax to begin with but we soon beat it into submission. When the board comes back to the cave the base will be
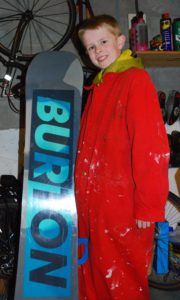
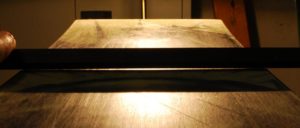
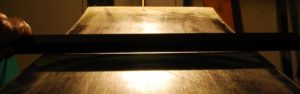
 The light really shouldn’t be reflecting from the edge like that and it takes a surprising amount of edge filing to get rid of it. I consider myself a conservative tech – you only get so much edge to play with over the life of your gear – so I hate having to file away tonnes of good metal to recover an edge. However better to have the edge there when you hit that icy patch…